


The Art of Baking Artisanal Bread at Home: Simple Recipes and Chef-Proven Techniques for Beginners
Baking truly artisanal bread at home blends a handful of honest ingredients with patient technique to produce loaves that sing — open, flavorful crumbs, and a glossy, blistered crust. This guide helps beginners see how artisan loaves differ from factory bread, explains the chemistry of fermentation and oven spring, and lays out clear, repeatable approaches for both sourdough and no‑knead methods. You’ll find guidance on choosing ingredients, building and caring for a starter, step‑by‑step mixing and shaping, essential equipment, a reliable no‑knead recipe, and practical troubleshooting for common problems like dense crumb or weak rise. Throughout, we share chef‑level tips — hydration control, strategic autolyse, and confident scoring — that lift home baking toward restaurant standards. Once you’ve learned these fundamentals, you’ll be comfortable making classic sourdough boules, easy no‑knead loaves, and flavored artisan breads with consistency. For inspiration from the dining side, Kaviar Restaurant of Pasadena offers a fine‑dining perspective—rooted in premium ingredients and precise technique—that can inform how you plate and pair your homemade loaves.
At Kaviar, our focus on exceptional ingredients and thoughtful presentation mirrors the artisan baker’s pursuit of quality in every loaf. The restaurant’s sourcing and balance of flavor are useful models for selecting superior flours, salts, and mix‑ins, and they invite home bakers to consider how bread can complement elevated dishes and seasonal menus. Bringing a restaurant‑grade mindset to your baking — from ingredient choice to how you serve a loaf — turns rustic bread into a memorable centerpiece. That connection reinforces why provenance and technique matter equally in the oven and on the plate.
What Are the Essential Ingredients for Baking Artisan Bread at Home?
Artisan bread is built from four core elements — flour, water, salt, and yeast or starter — that together create structure, flavor, and shelf life through hydration, gluten development, and fermentation. Knowing each ingredient’s role makes it easier to dial in changes (protein level, hydration percentage, salt type) that noticeably alter crumb and crust. Mastering these basics lets you tune hydration for an open crumb, pick flours for flavor and strength, and use salt to steady fermentation and sharpen taste. The sections that follow break down these four essentials and show how higher‑quality ingredients shift sensory results toward bakery‑level outcomes.
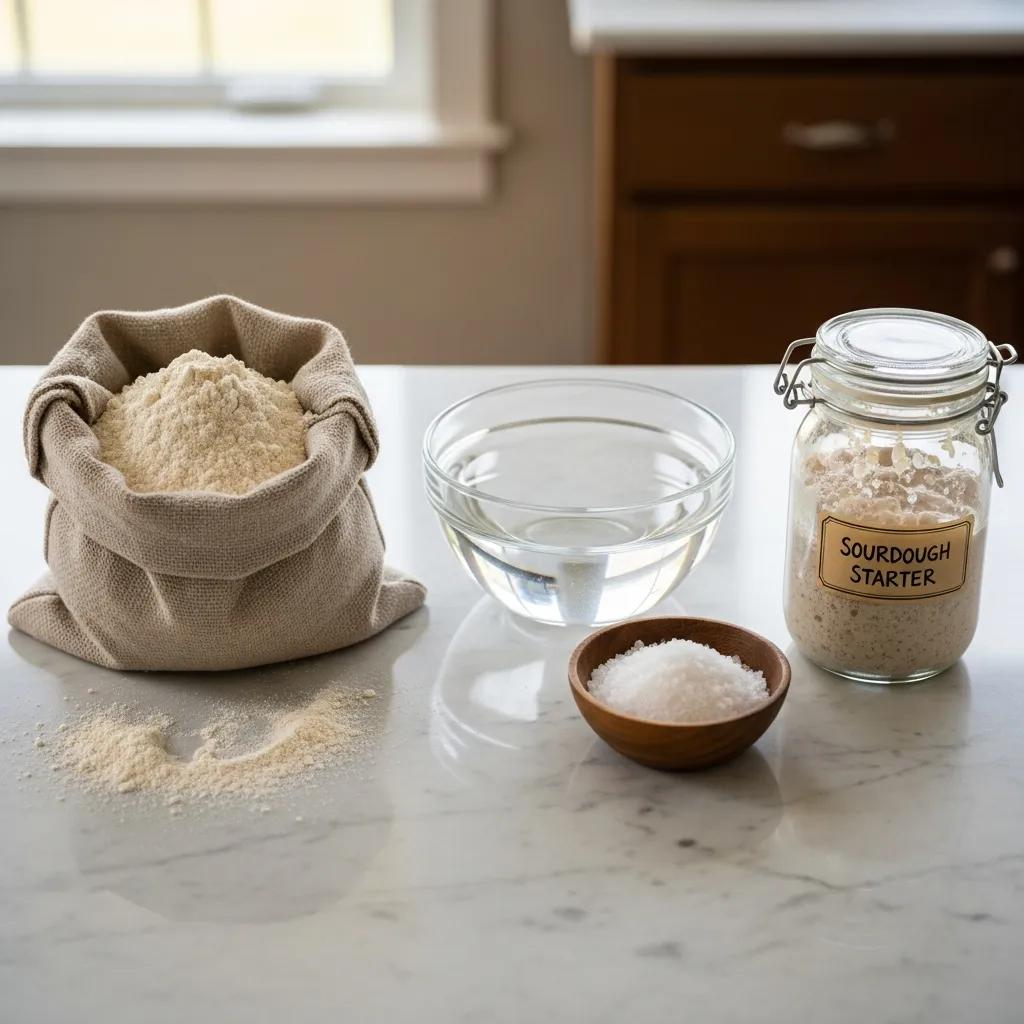
Which Four Ingredients Are Needed for Homemade Artisan Bread?
Flour supplies the gluten‑forming proteins that give dough its structure and chew; bread flour (11.5–13.5% protein) typically yields stronger gluten and better oven spring. Water hydrates flour, activates enzymes, and sets dough consistency — tap water usually works, though filtered or mineral‑balanced water can subtly alter fermentation and flavor. Salt tightens gluten, regulates yeast activity, and enhances taste; fine sea salt dissolves more predictably than coarse crystals. Finally, yeast or sourdough starter provides leavening and flavor: instant or active dry yeast speeds the process, while a mature starter contributes acidity, aroma, and longer shelf life.
How Do Premium Ingredients Enhance Artisan Bread Flavor and Texture?
Higher‑protein and carefully milled whole‑grain flours add deeper flavor, more chew, and improved gas retention; stone‑milled flours often bring a nutty depth that changes crumb character. Mineral‑rich water can subtly influence fermentation rate and mouthfeel, and artisanal salts (unrefined sea salts, finishing salts) introduce delicate flavor notes while dissolving predictably during mixing. Bakers aiming for chef‑level results prioritize provenance, freshness, and milling date, since those factors affect enzyme activity and fermentation. Kaviar’s commitment to premium ingredients offers a culinary parallel: better components reliably produce more refined flavors and textures, whether on a plate or from the oven.
Small differences in flour and salt choice produce obvious changes in texture and taste; balancing these variables helps you shape the loaf you want.
How Do You Create and Maintain a Sourdough Starter for Artisan Bread?
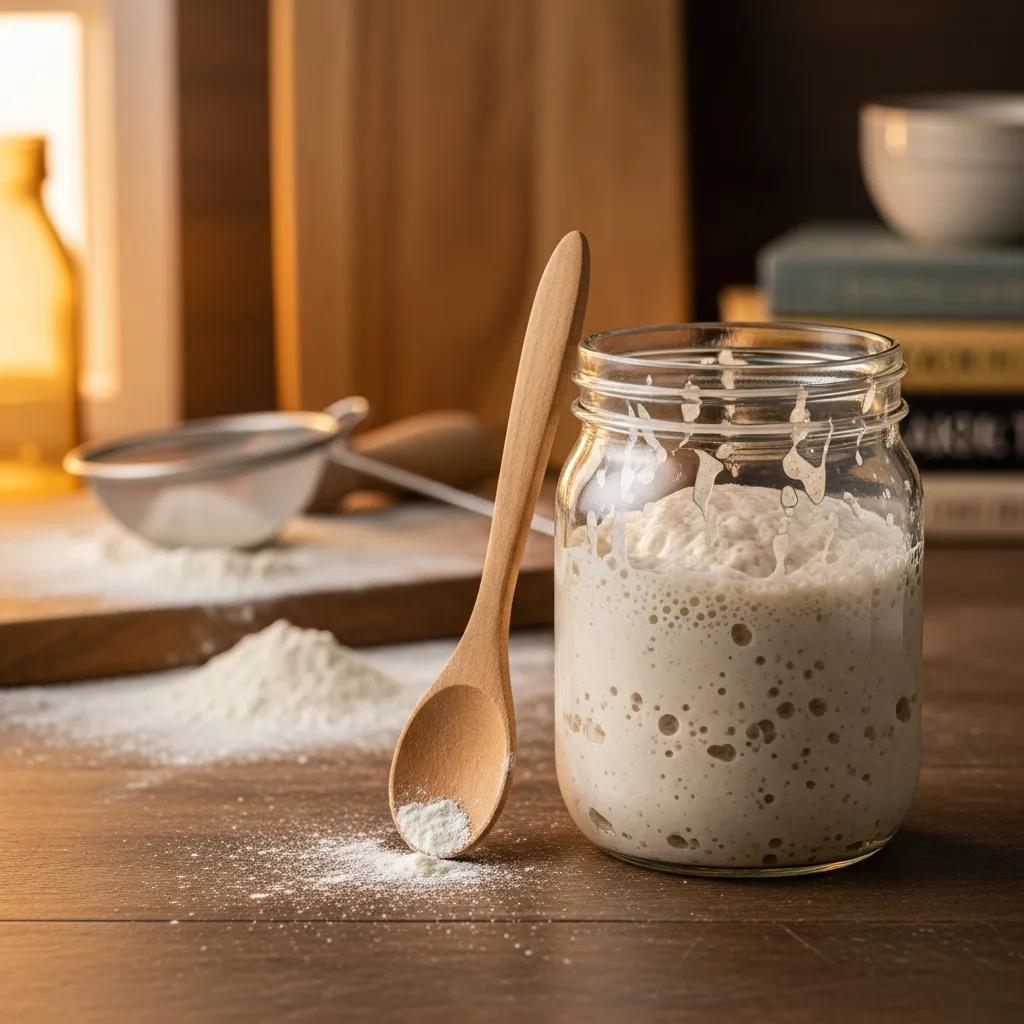
A sourdough starter is a living culture of wild yeast and lactobacilli that ferments flour and water, producing CO₂ for lift and acids for complex flavor. A starter’s activity and balance determine rise, tang, and aroma. Building a steady starter takes regular feedings, attention to temperature, and watching activity cues — bubbles, reliable rise, and a pleasant acidic scent — which tell you it’s ready to bake. Maintaining a starter means scheduled feedings, occasional discards to control acidity, and refrigeration for long‑term storage with periodic revivals. The sections below outline the microbiology in plain terms and practical feeding routines to keep a starter lively for consistent artisan loaves.
What Is a Sourdough Starter and How Does It Work?
A starter functions through microbial teamwork: wild yeast creates carbon dioxide for lift, while lactobacilli produce lactic and acetic acids that build flavor and stabilize crumb. Fermentation also breaks down complex starches and proteins, improving digestibility and producing the aromatic compounds we associate with sourdough. Signs of a healthy starter include a consistent doubling or tripling after feeding, a network of bubbles, and a bright, tangy smell free of unpleasant ammonia notes. Learning these signals helps you time dough builds for optimal bulk fermentation.
This review explores the ecology and upkeep of sourdough starters, and how those practices shape the sensory profile of artisanal bread.
Sourdough Starters: Ecology, Maintenance, and Sensory Quality in Artisanal Baking
The craft of sourdough bread‑making relies on developing and managing a diverse starter culture. Starters exist in many forms around the world and are used at both artisanal and commercial scales. While scientific research into sourdough is substantial, there is no single standardized method for starter use in practice. This review summarizes current knowledge of the starter’s microbial ecosystem (including microbial succession), practical maintenance methods (analogous to land management), and the factors that influence the final bread’s sensory qualities. It also proposes hypotheses and future directions for successful starter management and research.
A review of sourdough starters: Ecology, practices, and sensory quality with applications for baking and recommendations for future research, AA Madden, 2021
What Are the Best Practices for Feeding and Activating Your Starter?
Feed consistently using measured ratios (for example 1:1:1 or 1:2:2 by weight — starter:flour:water) to regulate acidity and vigor. Keep room‑temperature starters on a twice‑daily schedule when you bake often; warmer temperatures speed up fermentation but can increase acidity, while cooler storage slows activity and suits less frequent bakers. To wake a refrigerated starter, perform two refresh cycles at room temperature to rebuild yeast populations before using. If your starter develops off‑odors or separates, revive it with several consecutive feedings at slightly higher frequency until it bubbles reliably and shows a predictable rise.
What Are the Step-by-Step Techniques for Baking Artisan Bread at Home?
Consistent artisan bread relies on repeatable technique: precise weighing, an autolyse to hydrate flour and begin gluten formation, measured mixing or folding, controlled bulk fermentation, shaping that builds surface tension, and baking with steam to encourage oven spring and a glossy crust. Each stage shapes gluten, gas retention, and flavor; learning to read dough cues produces reliable results. Below we explain mixing, kneading or stretch‑and‑fold methods, then cover shaping, proofing, and scoring so your loaves perform and look their best. Practicing this sequence builds intuition and reproducible outcomes across recipes.
How Do You Mix, Knead, and Ferment Artisan Bread Dough?
Start with accurate weights and a short autolyse (20–60 minutes) of flour and water to hydrate and activate enzymes — this short rest reduces kneading and improves extensibility. For gluten development choose gentle hand kneading, brief mixer work, or stretch‑and‑fold cycles during bulk fermentation; stretch‑and‑fold is especially helpful for high‑hydration doughs and builds structure without overworking. Track fermentation by visual cues — increased volume, surface bubbles, a domed top — rather than strict clocks, since temperature and starter/yeast activity change timelines. A cold retard in the refrigerator during final bulk fermentation often deepens flavor; slow fermentation develops acidity and aroma while preserving structure.
- Autolyse: Mix flour and water; rest 20–60 minutes to improve extensibility.
- Develop Gluten: Use gentle kneading or stretch‑and‑fold cycles until the dough shows windowpane or a springy feel.
- Bulk Fermentation: Let the dough rise until airy bubbles form and volume increases modestly; adjust timing by temperature.
These steps provide a straightforward workflow you can adapt to different hydration levels and dough types.
How Should You Shape, Proof, and Score Your Bread for Best Results?
Shaping builds surface tension that supports oven spring. For boules use coil folds and bench rests to gather strength at the surface; batards benefit from tighter lamination and a neatly sealed seam. Final proofing works best in a slightly humid, controlled spot and frequently in bannetons or floured bowls to hold shape; the loaf is ready when a gentle poke shows slight resistance and a small indentation remains. Scoring with a sharp lame or razor directs expansion, producing both functional oven spring and attractive patterns that reflect your style. Bake with steam during the early stage to keep the crust flexible, then remove steam to let the crust crisp and color evenly.
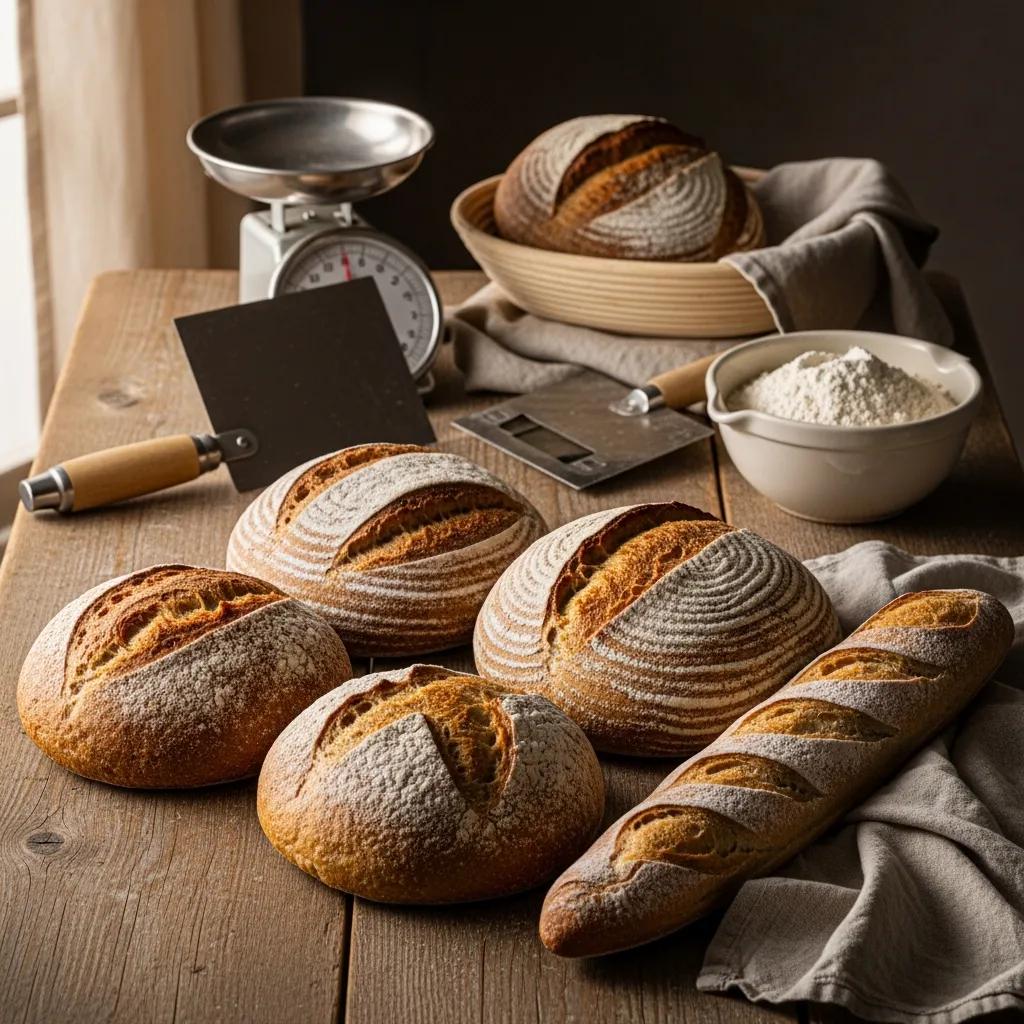
Which Equipment Is Essential for Baking Artisan Bread at Home?
A focused toolkit speeds progress toward professional results: an accurate digital scale, a dependable Dutch oven or baking stone, a sharp scoring tool (lame), a bench scraper, and proofing baskets (bannetons) for shape. These items affect steam retention, heat transfer, and shaping precision; investing in a few key pieces moves you from trial‑and‑error to consistent bakery‑quality loaves. The sections below explain why Dutch ovens and bannetons matter and list other helpful tools for beginners and advanced bakers. Even a small set of professional tools brings immediate gains in crust, oven spring, and presentation.
Why Use a Dutch Oven and Banneton for Artisan Bread Baking?
A Dutch oven traps the steam the dough releases in the first minutes of baking, creating a humid microclimate that promotes a glossy crust and maximizes oven spring by delaying crust set. Bannetons support final shape and draw moisture from the surface, leaving the characteristic floured pattern and a taut exterior that scores beautifully. If you don’t have a Dutch oven, mimic steam with a covered sheet pan and a separate steam tray or a preheated heavy pot; an improvised proofing basket can be a floured, lined bowl. Regular care — seasoning cast iron and cleaning proofing baskets without harsh detergents — preserves tool performance and flavor neutrality.
Kaviar’s professional kitchen standards offer practical inspiration for home bakers: the same attention to precise tools, timing, and plating that guides a restaurant can elevate how you bake, finish, and serve loaves to complement refined menus and impress guests.
What Other Tools Help Achieve a Perfect Crust and Crumb?
A digital scale guarantees consistent hydration and repeatability, while an instant‑read thermometer confirms internal temperature and doneness. A lame produces clean, controlled scores; a bench scraper makes dividing and shaping neater. For steam, a spray bottle or a preheated tray with hot water substitutes for commercial steam injectors, and bowls with tight lids simplify cold retards in a home fridge. Prioritize tools by how often you’ll use them: scale, Dutch oven or baking surface, and bench scraper are essentials; lame, thermometer, and banneton are valuable upgrades that refine the results.
Essential list for beginners:
- Digital Scale: Precise weighing for consistent hydration and repeatability.
- Dutch Oven or Baking Stone: Core tools for controlling crust and oven spring.
- Bench Scraper: Useful for shaping, dividing, and cleaning your work surface.
In short: starting with these essentials yields the biggest improvement in loaf quality for cost and kitchen space.
How Can Beginners Bake Easy No-Knead Artisan Bread at Home?
No‑knead artisan bread uses time and high hydration to develop gluten and flavor without intensive mechanical work, producing an open crumb and chewy crust through long fermentation. It’s ideal for busy bakers because it trades hands‑on time for passive waiting — mix, rest, shape, and bake — while still delivering impressive results reminiscent of traditional artisan loaves. Below is a straightforward, reliable no‑knead recipe and a comparison of this method with traditional kneaded doughs so you can choose the approach that fits your schedule and taste. The recipe is compact and built for consistent success.
What Is a Simple No-Knead Bread Recipe for Busy Bakers?
This no‑knead formula requires minimal hands‑on time and yields a single medium boule. Combine 500 g bread flour, 375 g water (75% hydration), 10 g salt, and 2 g instant yeast in a large bowl until a shaggy dough forms; cover and rest at room temperature for 12–18 hours until the surface is bubbly. Turn the dough onto a floured surface, perform a quick shape, proof in a floured basket for 1–2 hours, then bake in a preheated Dutch oven at 230°C (450°F) with the lid on for 20 minutes and lid off for 20–25 minutes until deeply browned. This approach emphasizes time and temperature rather than kneading, delivering an open crumb and rustic crust with minimal effort.
Ingredients and method summarized:
- Bread Flour: 500 g.
- Water: 375 g (75% hydration).
- Salt: 10 g.
- Instant Yeast: 2 g.
Quick steps:
- Mix until ingredients come together.
- Bulk rest 12–18 hours at room temperature.
- Shape and proof 1–2 hours.
- Bake covered in a Dutch oven 20 min, uncover and bake 20–25 min.
How Does No-Knead Bread Differ from Traditional Artisan Bread?
No‑knead bread replaces mechanical gluten development with long, slow fermentation and hydration to build extensibility and flavor. Traditional kneading or folding offers more direct control over gluten alignment and can be quicker in clock time but requires active technique. Texturally, no‑knead loaves often show a more irregular, open crumb and a thinner, blistered crust; kneaded loaves can be more uniform with a stronger chew depending on method. Choose no‑knead for convenience and rustic character; choose traditional techniques when you need precise control for sandwich loaves or delicate shapes.
What Are Common Troubleshooting Tips for Baking Artisan Bread at Home?
Issues like dense crumb, weak oven spring, gummy interior, or overly dark crust usually trace to predictable causes: underproofing, weak gluten development, incorrect oven temperature, or too much sugar (or moisture) in the dough. Quick diagnosis lets you apply focused fixes — extend fermentation, strengthen gluten with extra folds, recalibrate oven temperature, or alter hydration and baking time. The subsections below offer practical remedies for structural problems and advanced substitution tips for flavor variations while preserving loaf integrity. A concise reference table follows to speed diagnosis during active bakes.
How Do You Fix Issues with Dough Rise, Crust, and Crumb?
If a loaf is dense, check yeast or starter activity and lengthen bulk fermentation or add folding rounds to build strength; the windowpane test is a simple check for gluten readiness. Poor oven spring often responds to hotter initial oven temperatures, reliable steam, and correct scoring to guide expansion. A gummy crumb usually indicates underbaking or too‑high hydration without reaching final internal temperature — an instant‑read thermometer showing 96–99°C (205–210°F) resolves this. Change one variable at a time so you can see cause and effect and refine technique over several bakes.
Quick fixes:
- Dense loaf: Increase fermentation time or add folds to strengthen gluten.
- Flat oven spring: Improve steam and preheat oven thoroughly; check scoring.
- Gummy crumb: Bake to proper internal temperature; reduce excess hydration if necessary.
What Are Advanced Tips for Flavor Variations and Ingredient Substitutions?
To add seeds, nuts, or dried fruit, fold them in near the end of bulk fermentation with a few gentle turns to avoid degassing. Toast seeds before adding for more aromatic depth and stable texture. When introducing whole‑grain flours, start by replacing 10–25% of the white flour and raise hydration slightly, since whole grains absorb more water and can restrict oven spring if overused. For herb or cheese inclusions, account for their moisture and salt — cut added salt or tweak hydration to maintain structure. Experimenting with cold retards and extended fermentation often deepens flavor without extra ingredients.
Kaviar Restaurant welcomes reservations from diners who want to experience fine‑dining applications of premium ingredients and refined presentation that can inspire how you serve and pair homemade artisan breads. Booking a table lets you observe chef‑driven pairings, plating details, and ingredient‑led balances that translate into practical ideas for serving loaves alongside entrees, charcuterie, or seasonal spreads. A visit can sharpen how you portion, garnish, and pair bread, showing how restaurant sourcing and technique can elevate a simple loaf into a complementary element of a multi‑course experience.
Frequently Asked Questions
What is the difference between artisan bread and commercial bread?
Artisan bread is made with traditional methods, higher‑quality ingredients, and longer fermentation, all of which enhance flavor, texture, and crust. Commercial bread typically relies on additives and accelerated processes to speed production and extend shelf life, resulting in softer, more uniform loaves. The result: artisan loaves offer richer flavor, a chewier crust, and more open crumb structure, while commercial loaves prioritize consistency and convenience.
How can I tell if my sourdough starter is healthy?
A healthy starter reliably doubles in size within 4–8 hours after feeding, shows a web of bubbles, and smells pleasantly tangy without off aromas. Bubbling indicates active fermentation; consistent rise demonstrates a thriving yeast population. If your starter is sluggish or develops a layer of liquid (hooch), it likely needs more frequent feedings or a short refresh to restore vigor.
What are some common mistakes to avoid when baking artisan bread?
Common errors include inaccurate measurements, ignoring fermentation time (which builds flavor), and over‑ or under‑kneading, which harms gluten structure. Not preheating the oven properly or skipping steam can also prevent good crust development. Learn to read dough cues and make small adjustments; experience is the best teacher.
Can I use all-purpose flour instead of bread flour for artisan bread?
Yes — all‑purpose flour can substitute, but expect a softer crumb and slightly less structure because it has lower protein. If using all‑purpose, consider adjusting hydration or blending it with higher‑protein flour for recipes that require strong gluten for oven spring or chewy texture.
How do I know when my bread is fully baked?
Use an instant‑read thermometer: the internal temperature should reach 96°C–99°C (205°F–210°F). Visually, the crust should be deep golden brown, and the loaf will sound hollow when tapped on the bottom. If the crust darkens too fast, lower the oven slightly or tent the loaf with foil during the final minutes.
What are some ways to enhance the flavor of my artisan bread?
Additions like herbs, spices, seeds, nuts, or dried fruit incorporated during mixing can deepen flavor; toasted seeds intensify aroma. Using high‑quality flours (whole grain, stone‑milled) and longer fermentation or cold retards will also produce more complex flavor. For savory loaves try cheese or olives; for sweet variations, dried fruit or a touch of honey can work — always account for moisture and salt when adjusting the recipe.
Conclusion
Baking artisanal bread at home lets you create memorable, high‑quality loaves that reflect your care and culinary judgment. By mastering essential techniques and choosing thoughtful ingredients, you can achieve bakery‑level results that delight family and guests. Enjoy the process — the rhythm of mixing, folding, and watching dough transform — and elevate your meals with homemade bread that complements any table. Begin your baking journey with our approachable recipes and practical tips, and bring restaurant‑grade attention to the loaves you share.