


Bake Your Own Artisan Bread — A Home Guide to Mastering Techniques and Recipes
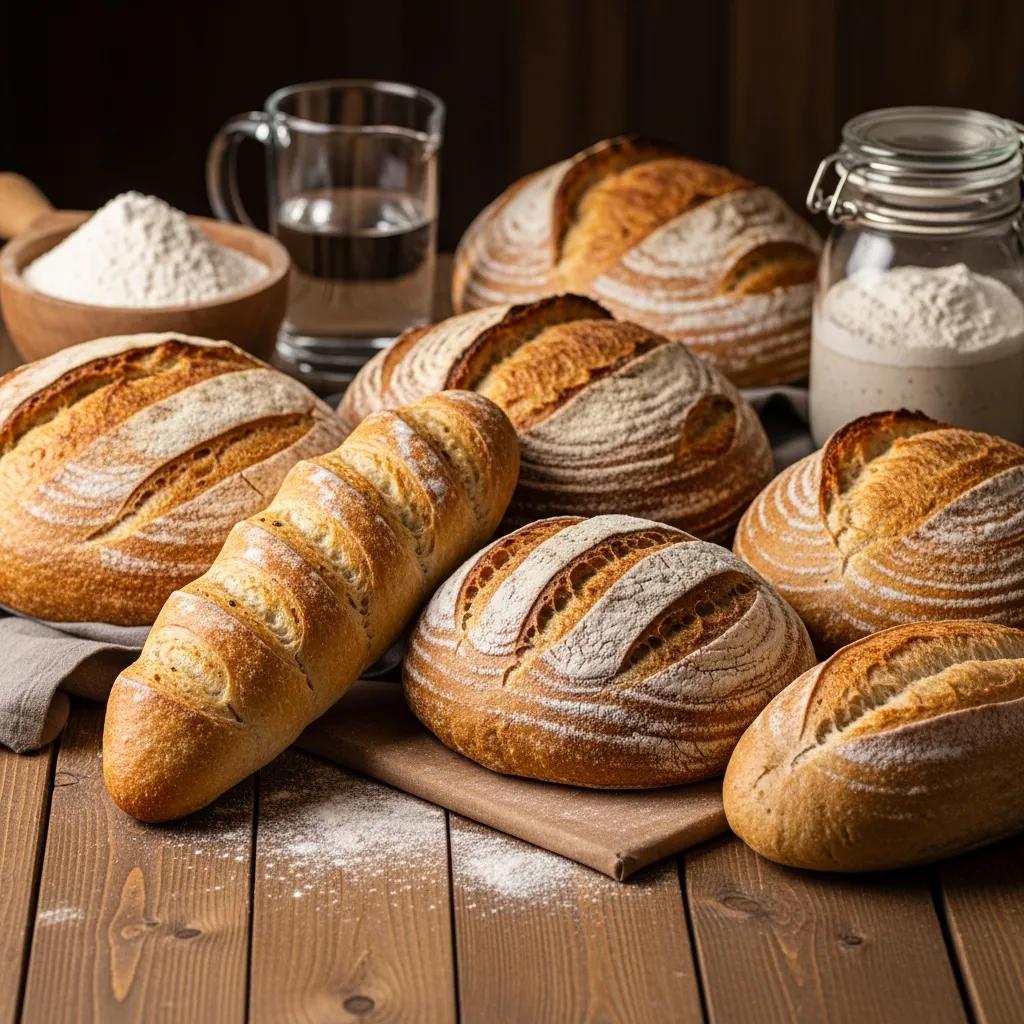
Artisan bread celebrates simple ingredients, slow fermentation and hands-on technique to produce memorable crust and crumb. This guide walks home bakers through building a dependable sourdough starter, selecting flours and hydration levels, developing gluten with kneading or stretch‑and‑folds, and finishing with baking and scoring methods that maximize oven spring and flavor. Common home-baking frustrations — inconsistent fermentation, dense crumb or weak crust — are usually solved by understanding starter activity, baker’s percentages and temperature control. We’ll give step‑by‑step starter instructions, comparative flour guidance, clear kneading and fermentation workflows, oven settings and scoring patterns, plus serving and pairing ideas that elevate homemade loaves toward a refined dining table. By the end you’ll be able to produce reproducible rustic sourdoughs, enriched breads and plated pieces suitable for refined menus, and you’ll know when to slow‑ferment for deeper flavor. If you’d like to experience professional bread service alongside curated omakase or premium Wagyu and caviar, reserve a table at Kaviar Restaurant and see how artisan bread completes the tasting experience.
How Do You Create a Sourdough Starter at Home?
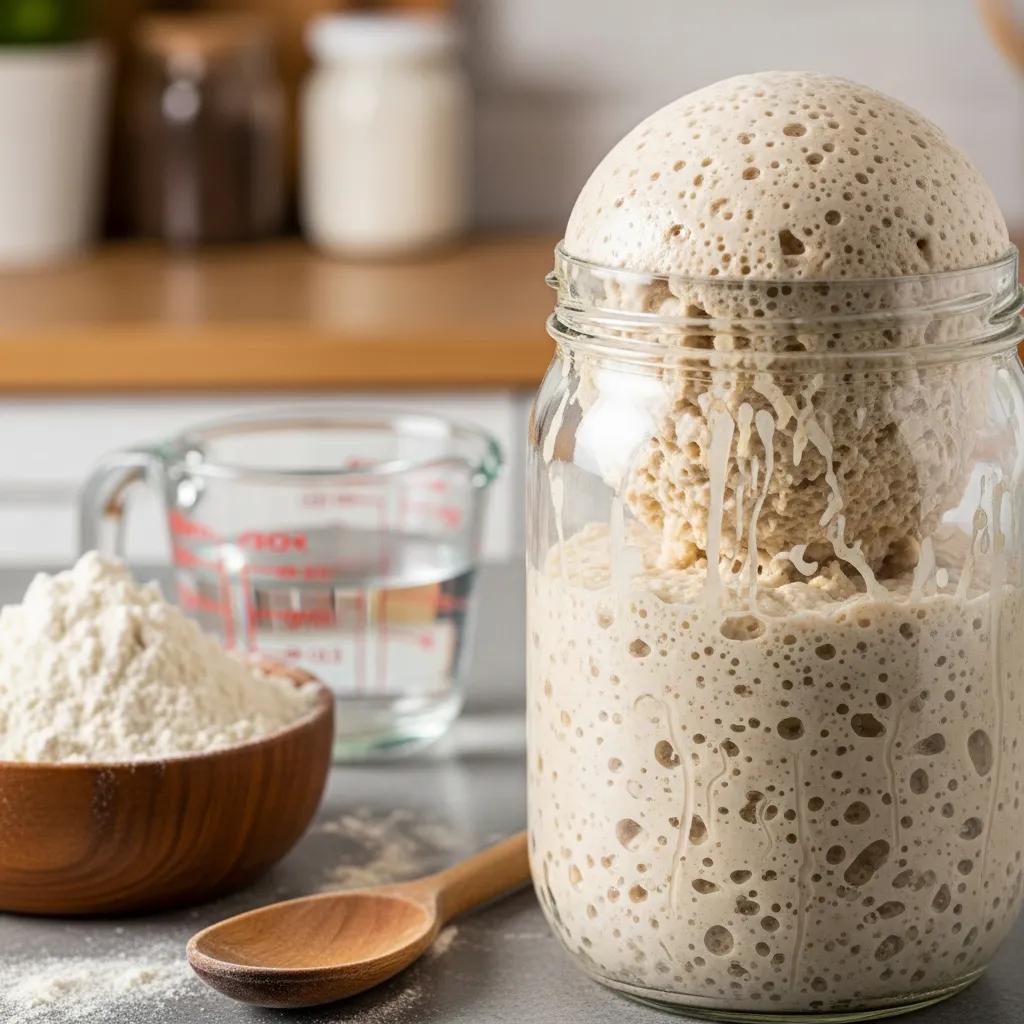
A sourdough starter is a living culture of wild yeast and lactic acid bacteria that leavens and flavors bread through fermentation, generating organic acids and gases that yield an open crumb and nuanced tang. Building a starter is simply flour and water managed at controlled hydration and refreshed regularly to encourage a predictable rise and pleasant aroma. Beginners benefit from a simple daily routine and clear visual cues — bubbles, a domed rise and a bright, acidic scent — that show readiness for baking. Below we offer exact ingredient recommendations and a day‑by‑day feeding schedule so you can establish a robust starter and troubleshoot common issues before moving into maintenance and storage.
What Ingredients Are Needed for a Natural Yeast Starter?
At its simplest a natural yeast starter requires only flour and water. Whole‑grain flours such as rye or whole wheat introduce more microbial diversity and often speed initial activity; all‑purpose flour produces a milder, slower‑developing culture. Use chlorine‑free water at room temperature or slightly warm to encourage fermentation — mineral content can affect activity, so filtered water can improve consistency for sensitive starters. Some bakers add a small percentage of rye on day one to give a microbial boost, but avoid commercial yeast when cultivating true wild yeast to preserve depth of flavor. These choices influence how quickly a starter becomes active and the flavor notes it will contribute to your dough; feeding schedules and maintenance practices follow naturally from here.
How to Maintain and Feed Your Sourdough Starter Regularly?
Maintain a starter with consistent feedings by weight — common ratios are 1:1:1 (starter:flour:water) for daily refreshment or 1:2:2 for fridge‑retarded routines — measured in grams for repeatability. A healthy starter typically doubles vigorously within 4–12 hours at room temperature, shows a fine network of bubbles and smells pleasantly tangy. If activity slows, warm the starter for a few feedings or refresh by discarding and feeding a small seed amount. For long‑term storage, refrigerate a well‑fed starter and feed weekly, or dry a small sample as backup. To revive a dormant starter, bring it to room temperature and perform scheduled feedings until rise and bubble activity return. These maintenance habits preserve leavening power and flavor and make it easy to scale starter quantities for recipe hydration and bulk fermentation planning.
Which Ingredients Are Essential for Baking Artisan Bread?
Ingredient choices define structure and taste: flour supplies protein for gluten development, water sets hydration and enzymatic activity, salt tempers fermentation and strengthens dough, and leavening — commercial yeast or a natural starter — sets timing and flavor. Learning baker’s percentages helps you adjust hydration and protein ratios to aim for an open or tighter crumb; for example, higher‑hydration doughs yield larger alveoli while lower hydration produces a tighter, sandwich‑style crumb. The next section compares common flour types so you can choose blends that match your loaf style and workflow. After flour selection we’ll explain how water quality, salt and leavening choices influence dough behavior and final bread quality.
What Are the Best Flour Types for Artisan Bread Baking?
Choose flour with attention to protein content and absorption: higher‑protein flours build stronger gluten networks and absorb more water, while whole‑grain flours bring flavor and enzyme activity but reduce extensibility. Blending — for example, bread flour with a portion of whole wheat or rye — balances strength and flavor, producing loaves with good oven spring and rustic character. Specialty flours such as spelt or high‑extraction wheat add distinctive aromas and crumb profiles but often require hydration tweaks. The table below summarizes protein ranges, absorption tendencies and recommended uses to guide your blends.
Introductory table comparing common flour types for artisan baking.
This comparison helps you decide which flours to combine for the texture and flavor you want, and it explains why baker’s percentage adjustments are necessary when changing flours.
How Do Water, Salt, and Yeast Affect Bread Quality?
Water sets dough hydration and directly affects crumb openness — raising hydration by 5–10% often produces a noticeably more open crumb if gluten strength supports it. Salt (commonly 1.8–2.2% of flour weight) tightens gluten, enhances crust color through Maillard reactions and slows fermentation for more balanced flavor development. Leavening choice — instant yeast for speed or sourdough starter for depth — changes timing and flavor: sourdough fermentation yields organic acids and esters for complexity, while commercial yeast gives cleaner, quicker rises. Practical baker’s percentage examples and hydration effects are summarized below.
- Hydration: Governs crumb openness and stickiness; higher hydration (75–85%) favors an open crumb.
- Salt: Regulates enzyme activity and flavor; 1.8–2.2% of flour is a reliable range.
- Leavening: Starter brings acidity and depth; commercial yeast delivers speed and predictability.
Grasping these interactions makes recipe adjustments more deliberate and prepares you for the kneading and fermentation choices that follow.
What Are the Key Kneading and Fermentation Techniques for Artisan Bread?
Kneading and fermentation transform simple ingredients into a structured dough with desirable flavor and texture: kneading builds gluten, while bulk fermentation and folds distribute strength and trap gas to shape the crumb architecture. Methods range from intensive kneading to gentle stretch‑and‑fold routines and no‑knead approaches; the best choice depends on flour strength, hydration and the time you have. Knowing when to use mechanical mixing versus manual handling helps you reach the windowpane benchmark and shape dough that tolerates final shaping and oven spring. The sections below outline practical kneading steps and a fermentation timeline that favors flavor through long, cool ferments.
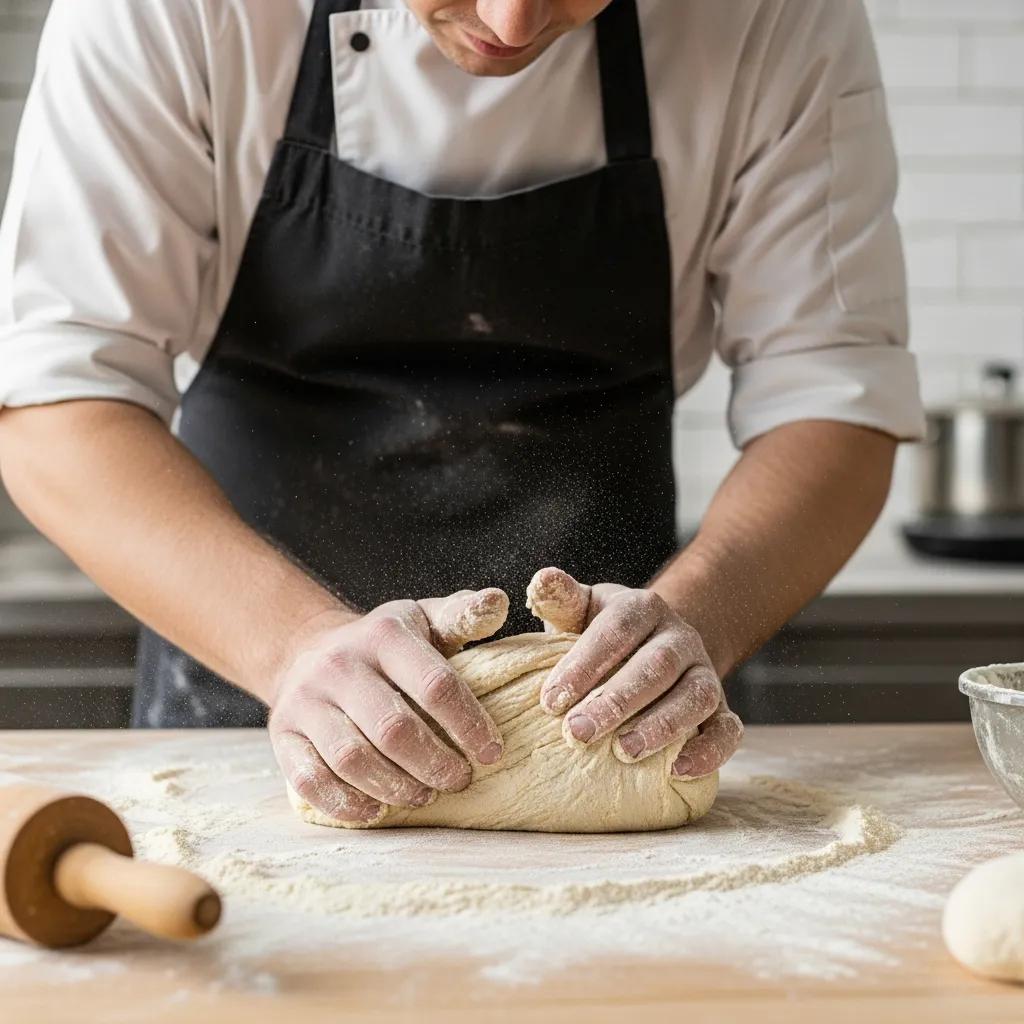
How to Develop Gluten Through Proper Kneading?
Gluten develops as protein strands align under mechanical action to form an elastic network that traps gas; the windowpane test — stretching a small piece of dough until it becomes translucent without tearing — shows adequate development. Hand kneading uses a push‑fold‑turn rhythm to build extensibility without overheating, while stand mixers deliver consistent speed and timing for high‑hydration doughs. Typical errors are under‑kneading (weak structure, dense crumb) or over‑kneading (tight, gummy texture); both are avoidable with periodic elasticity checks and rest intervals. For very high‑hydration formulas, gentle stretch‑and‑folds during bulk fermentation often replace long kneading and still yield strong gluten while preserving an open crumb.
Practical hand‑kneading steps:
- Mix and rest: Combine flour and water, then autolyse 20–40 minutes to hydrate flour and begin gluten formation.
- Add salt and starter/yeast: Introduce salt after autolyse to avoid inhibiting enzymes, then knead 6–8 minutes by hand.
- Perform windowpane test: If the dough stretches thin without tearing, move to bulk fermentation; if not, continue gentle kneading.
These steps lead into the fermentation timeline and cold‑retard strategies described next.
What Is the Ideal Fermentation Time for Flavor and Texture?
Fermentation time varies with temperature, hydration and leavening strength. A typical bulk fermentation at 24°C (75°F) for a sourdough levain is 3–5 hours with periodic folds, while a cold retard in the refrigerator for 12–72 hours builds acidity and complex aromatics. Slower, longer ferments increase enzymatic breakdown of starches and proteins, improving flavor, digestibility and crumb nuance; temperature control lets you trade time for intensity. Rely on dough feel and volume change (often ~20–50% rise for many artisan doughs) rather than the clock alone. The next section explains how baking and scoring convert well‑fermented dough into an attractive loaf with controlled oven spring.
Use this comparison to choose a fermentation workflow that balances your schedule with desired flavor and crumb structure.
How Should You Bake and Score Artisan Bread for Best Results?
Baking and scoring translate dough structure into crust, crumb and visual identity; oven temperature, steam and scoring angle control crust thickness, color and oven spring. Preheating a baking stone or Dutch oven builds thermal mass for even bake‑through, while steam during the first 10–15 minutes delays crust set and allows full expansion. Scoring patterns direct where the loaf bursts and create signature aesthetics; controlled depth and angle produce ears and reveal crumb development. Below we outline oven settings, steam strategies and scoring guidance, plus a table to match oven methods with expected results.
What Oven Settings Optimize Crust and Crumb?
Optimal settings depend on loaf type but commonly start hot (230–260°C / 450–500°F) with steam for the initial phase, then reduce temperature or vent the oven to finish for deep color without burning. A Dutch oven traps moisture and creates a consistent mini‑steam environment; in conventional ovens, tray‑and‑spray methods or adding boiling water to a preheated tray will work. For enriched or small loaves, lower temperatures (180–200°C / 350–400°F) prevent over‑browning while ensuring internal doneness. Typical problems — dense crumb, pale crust or scorched edges — often stem from insufficient preheat, low thermal mass or poor steam; change one variable at a time to isolate causes.
Introductory oven settings table mapping to expected outcomes.
Let this table guide your oven method based on the crust color and interior texture you want to achieve.
How to Score Bread for Aesthetic and Baking Performance?
Scoring directs where the loaf opens and can be used to create ears, central bloom or decorative motifs. A shallow, angled slice encourages an ear, while a deeper central cut allows broad expansion for bâtards and boules. Use a sharp razor or lame and score confidently to avoid ragged edges; hold the blade at 30–45° for surface slashes that lift and form pronounced ears. Match your pattern to dough tension and shape — long diagonal slashes for bâtards, circular or cross patterns for boules — to control expansion in the oven’s first minutes. Practice on test loaves to learn how your hydration and oven conditions respond, then refine depth and angle for consistent results.
Practical scoring tips in list form:
- Angle: Hold the blade at 30–45° to encourage an ear and controlled lift.
- Depth: Aim for 3–7 mm depth depending on dough strength; use deeper cuts for tighter doughs.
- Pattern: Choose a cut pattern that matches the loaf shape for predictable expansion.
These scoring habits improve both function and presentation as you prepare to pair loaves with refined dishes.
How Can You Pair Homemade Artisan Bread with Fine Dining Experiences?
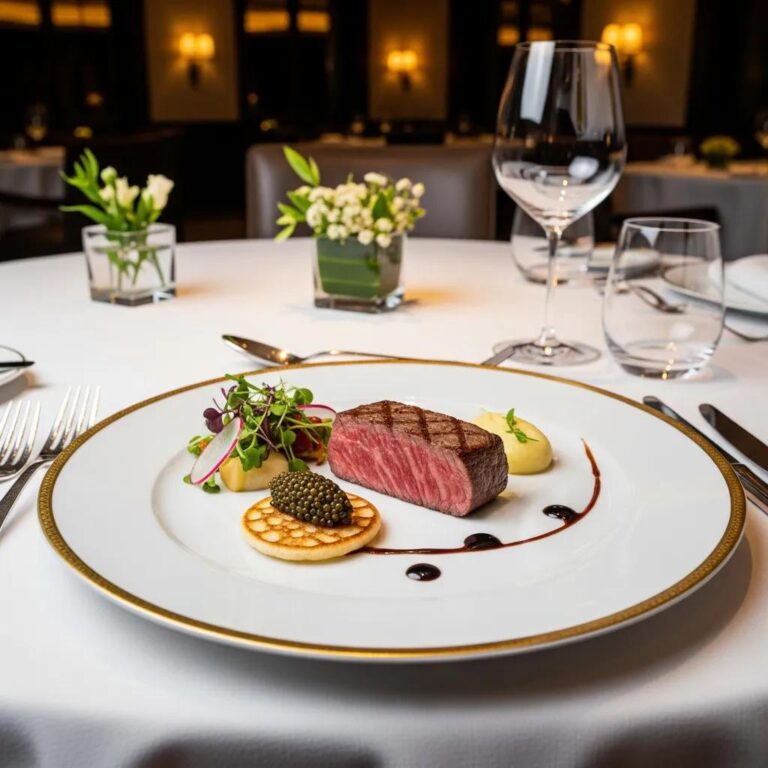
Pairing artisan bread with fine dining is about balance: match texture, fat and flavor intensity so the bread complements rather than competes with the main components. Consider crumb openness against the richness of the protein and how plate fats and salts interact. For delicate seafood or caviar service, tender enriched breads or lightly toasted milk bread carry subtle flavors and soak up fine oils without overpowering. Conversely, crusty sourdough and rustic country loaves stand up to richly marbled A5 Wagyu and other fatty cuts. Presentation matters: warm slices, composed accompaniments such as compound butters or infused oils, and thoughtful portioning frame the tasting experience from bite to bite. If you prefer to experience professional pairing in a fine‑dining setting, Kaviar Restaurant — known for curated omakase, premium A5 Wagyu and caviar — offers reservation‑based dining where bread service is tailored to each course.
What Artisan Bread Complements Kaviar Restaurant’s Signature Dishes?
Match breads to texture and fat: soft enriched milk bread pairs beautifully with delicate seafood and chilled caviar, providing a gentle carrier without competing flavors. Rustic sourdough with a bright tang cuts through rich A5 Wagyu and adds welcome contrast. Consider lightly buttered brioche for sauced, umami‑forward courses, and thin baguette rounds for caviar service when a crisp, neutral base is desired. Guests may reserve a table via Kaviar Restaurant’s online reservation page to taste these pairings alongside curated omakase sequences and signature Wagyu preparations. These pairing principles help you choose which homemade loaves to serve based on menu balance and desired contrast.
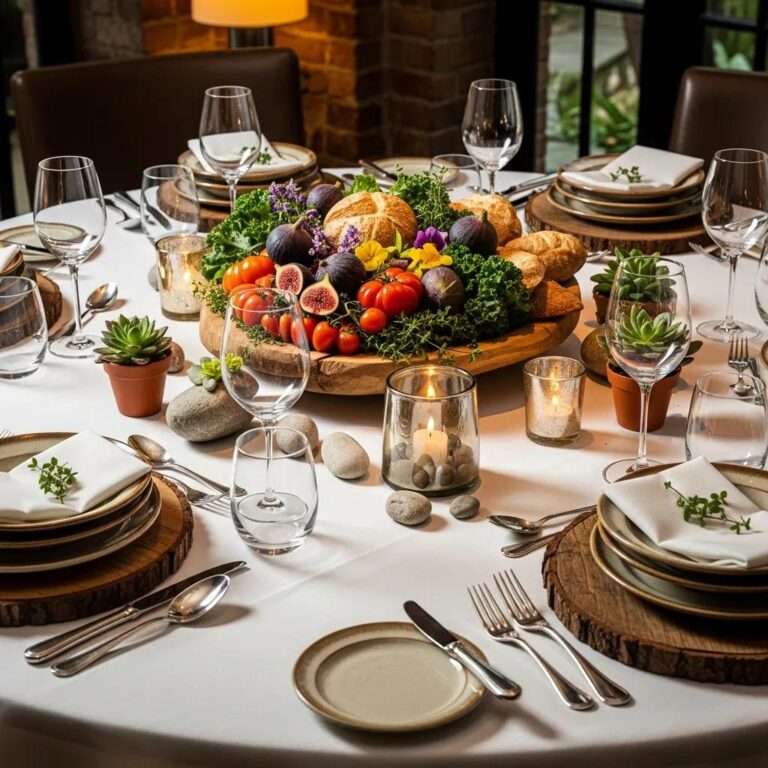
How Does Artisan Bread Enhance Gourmet Meal Presentation?
Bread enhances presentation through temperature, portioning and thoughtful accompaniments that elevate both sight and palate. Serving warm slices in a linen‑lined basket signals care; precise, pre‑sliced portions keep plating tidy. Compound butters, smoked oils or single‑origin finishing salts used sparingly create intentional flavor links — herb butter with seafood, yuzu oil with sashimi, or truffle‑scented butter with Wagyu — each accentuating the interplay of fat and texture. When plating, place bread to frame the protein rather than dominate it, and consider small tasting spoons or slender bread slivers to encourage mindful pairing across a multi‑course meal. For those who want to observe professional bread service paired with curated courses, reserve at a fine‑dining venue like Kaviar to see pacing, portioning and accompaniments executed by an experienced team.
- Serve warm: Warm bread releases aroma and elevates texture perception.
- Match accompaniments: Use compound butters and oils that echo flavors on the plate.
- Portion for pacing: Small portions support multi‑course tasting without filling guests.
These presentation practices help homemade loaves feel restaurant‑ready and enhance the meal’s narrative at the table.
Frequently Asked Questions
What is the difference between artisan bread and commercial bread?
Artisan bread is handcrafted using traditional methods and natural fermentation, prioritizing high‑quality ingredients and flavor development. The result is an irregular crumb, pronounced crust and a distinct flavor profile. Commercial bread is produced for scale and shelf life, often using additives and faster processes that yield a more uniform texture and milder taste. Artisan baking values craft, variation and depth of flavor; commercial baking emphasizes convenience and consistency.
How can I troubleshoot common issues when baking artisan bread?
Common problems include dense crumb, weak rise and uneven crust. Start by ensuring your sourdough starter is active — this is essential for leavening. Adjust hydration if the dough feels too dry or sticky, and monitor fermentation rather than relying solely on time. If the crust is too thick or burns, check oven temperature, thermal mass and steam. Keeping a baking journal of formulas, temps and timings makes it much easier to diagnose issues and repeat successes.
What tools are essential for baking artisan bread at home?
Key tools include a digital scale for accurate measurements, a sturdy mixing bowl, a bench scraper for handling dough, and a baking stone or Dutch oven for reliable heat retention. A sharp lame or razor is essential for clean scoring, and a thermometer helps monitor both dough and oven temperatures. A proofing basket (banneton) supports final shaping and improves structure and presentation.
Can I use whole grain flours in artisan bread recipes?
Yes. Whole grain flours add flavor and nutrition but absorb more water than white flours, so you’ll likely need to increase hydration. Blending whole grain with higher‑protein white flours preserves structure while bringing the rich flavors of whole grains. Experiment with proportions to find the texture and taste you prefer.
How does temperature affect the fermentation process in bread making?
Temperature directly controls fermentation speed. Warmer environments accelerate yeast activity and shorten proofing times, but often yield less complex flavor. Cooler temperatures slow fermentation and allow greater enzymatic activity and flavor development. Many bakers combine room‑temperature bulk fermentation with cold retardation to balance convenience with depth of flavor.
What are some common mistakes to avoid when baking artisan bread?
Avoid under‑ or over‑kneading, which respectively cause weak structure or a tight, gummy crumb. Don’t rush fermentation — insufficient time often yields dense loaves. Always preheat properly and use steam for the first part of the bake to develop a strong crust and oven spring. Finally, score dough to control expansion; neglecting to score usually results in unpredictable splitting.
How can I store artisan bread to maintain freshness?
For short‑term storage, keep bread in a paper bag at room temperature to maintain a crisp crust. For longer storage, wrap the loaf tightly in plastic and freeze; this preserves quality for months. Thaw at room temperature and refresh in a hot oven to restore crust character. Avoid refrigerating bread, as it accelerates staling.
Conclusion
Learning artisan bread baking deepens your cooking skills and brings distinctive flavors and textures to the table. By understanding the science behind ingredients and the craft behind technique, you can bake loaves that stand beside professional breads. Embrace the process, keep experimenting, and use the resources here to refine your craft. To see how artisan bread complements a curated tasting menu, reserve a table at Kaviar Restaurant and experience bread service paired with exquisite courses firsthand.