


Homebrewing Fundamentals: A Beginner’s Guide to Techniques and Craft Beer Recipes
Brewing is a simple, elegant transformation: yeast turns malt sugars into alcohol and carbon dioxide. This guide walks you through the essentials—ingredients, gear, fermentation science, approachable styles, food-pairing ideas, and straightforward troubleshooting—so you can brew reliably from your first batch. You’ll learn what each ingredient brings to flavor and stability, how to set up and sanitize a compact starter kit, the stages of fermentation and basic temperature practice, a few easy recipes to try, and how to pair your beer with refined dining. We also highlight simple pairing ideas tailored to the delicate courses served at Kaviar Restaurant, showing how craft beer can enrich an omakase reservation. Start with ingredients, then move through equipment, fermentation, styles, pairing, and troubleshooting—by the end you’ll have a clear path to a confident first brew.
What Are the Essential Ingredients for Brewing Beer?
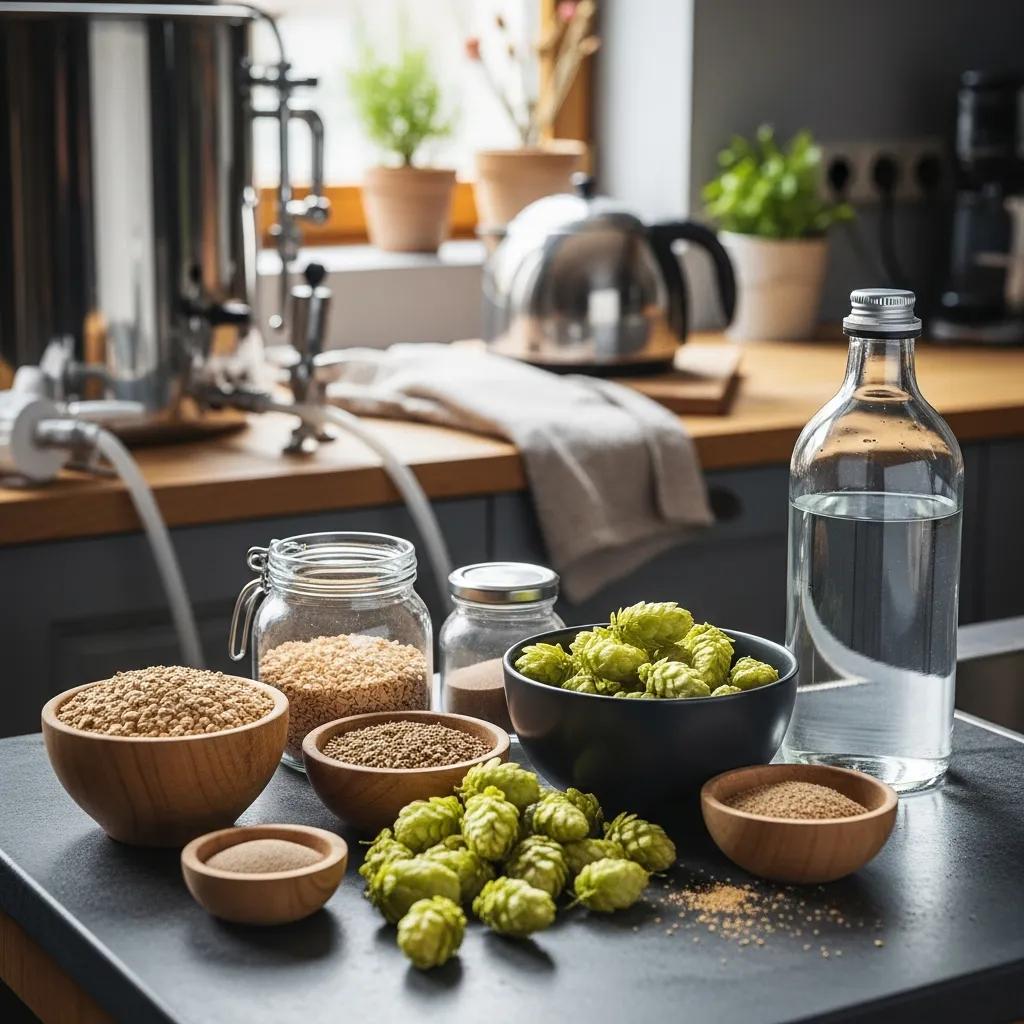
All beer begins with four ingredients—malt, hops, yeast and water—each with a clear role: malt supplies fermentable sugars, color and body; hops add bitterness, aromatics and some preservation; yeast performs fermentation and creates aroma compounds; water defines mouthfeel and extraction through its mineral profile. Knowing how these pieces interact lets you design recipes and shape flavor: malt kilning influences color and dextrins, hop choice controls bitterness and aromatic oils, yeast strain determines ester and phenolic character, and water chemistry affects mash pH and hop perception. The table below gives a concise view of common ingredient types and sensible starter choices. After that we’ll explore malt and yeast in more detail so you can choose components that suit your target style.
This table summarizes core brewing ingredients, their main characteristics, and practical beginner recommendations.
In practice, malt and yeast set most of the flavor foundation while hops and water refine bitterness and balance—so prioritize a good base malt and a dependable ale yeast before experimenting with complex hop schedules.
Which Types of Malt Are Used in Beer Brewing?

Base malts give the bulk of fermentable sugars and a neutral grain backbone; specialty malts—crystal/caramel—add sweetness and body; roasted malts contribute coffee, chocolate and dark color. Pale two‑row is a common base malt that produces a clean wort suitable for most ales; crystal adds caramelized sugars and a fuller mouthfeel for amber and brown ales. Dark roasts such as chocolate or black patent create the roasted edge in porters and stouts—used sparingly, they add depth without dominating. Choosing malts by color (Lovibond) and kilning method helps match the grain bill to your target color and flavor intensity.
This discussion of malt naturally leads into yeast selection—malt supplies the sugars that yeast will turn into alcohol, CO₂ and flavor.
How Do Yeast Strains Affect Fermentation and Flavor?
Yeast are living engines in brewing: they convert wort sugars into alcohol, carbon dioxide and flavor compounds. Ale yeasts (Saccharomyces cerevisiae) ferment warmer and often produce fruity or spicy esters; lager yeasts (Saccharomyces pastorianus) ferment cooler for a cleaner, crisper profile. Attenuation describes how fully a strain ferments available sugars and affects final gravity and perceived dryness; flocculation is how readily yeast settles, influencing clarity. For beginners, predictable ale strains with moderate attenuation make temperature control easier—typical ale fermentations run about 18–22°C. Choose strains with clear temperature ranges and pitch appropriate cell counts for reliable, clean fermentations and fewer off‑flavors.
This overview points toward equipment choices: steady temperature control and sanitary yeast handling depend on suitable brewing gear.
How to Set Up Brewing Equipment for Homebrewing Success?
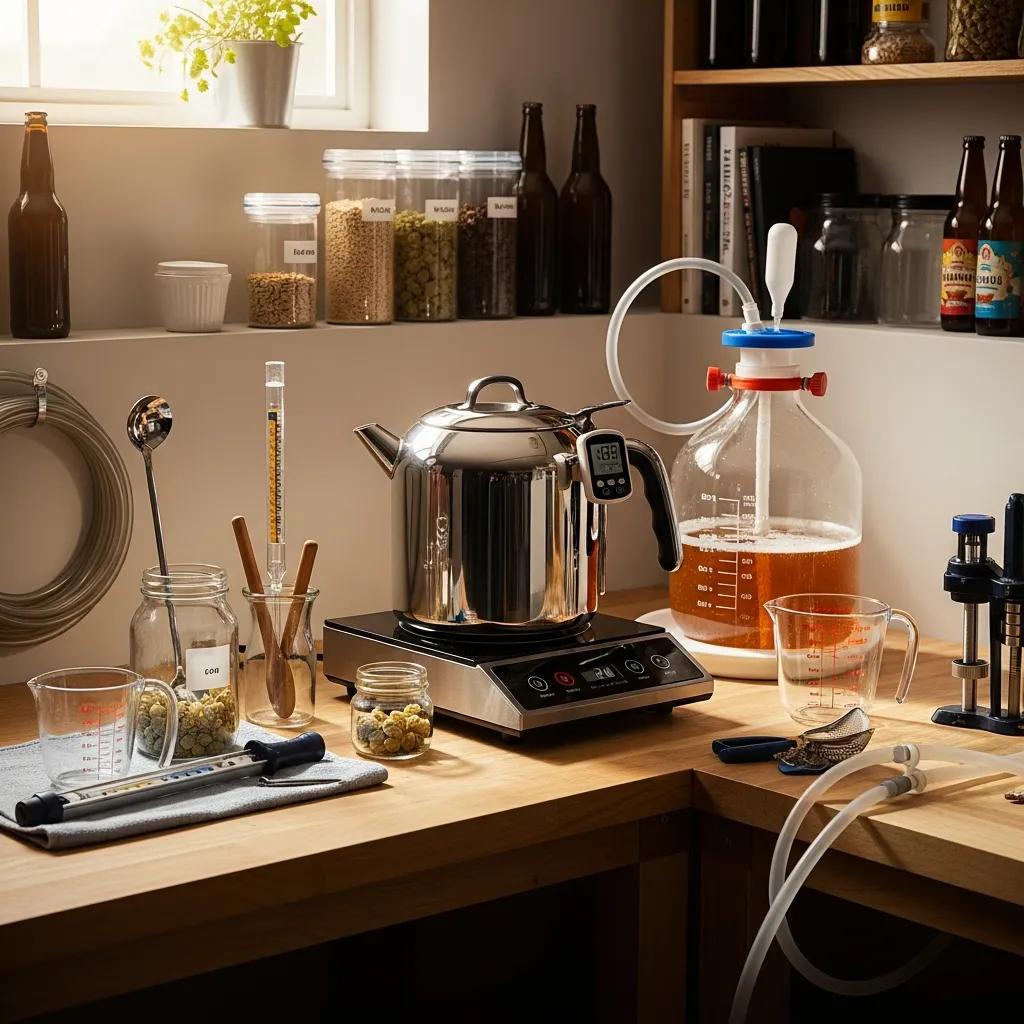
Match capacity, materials and sanitation to your brewing method—extract, partial mash or all‑grain—so you can begin simply and upgrade as your goals grow. Essentials include a brew kettle sized for your batch, a fermenter with an airlock, a reliable thermometer, a hydrometer for gravity readings, and sanitizing supplies. Stainless steel and food‑grade plastics are common choices for durability and cost. A tidy workspace and a routine for cleaning and sanitizing reduce contamination risk and make brew‑day steps predictable. The compact equipment table below helps you choose sensible starter specs before we cover sanitation and maintenance.
Intro: Recommended homebrewing equipment, suggested specs, and why each item matters for a beginner.
A modest initial investment in the right sizes and materials pays off with more repeatable batches and fewer headaches later on.
What Brewing Equipment Is Necessary for Beginners?
A starter kit should include a 5–6 gallon brew kettle, a 6–7 gallon fermenter with airlock, an accurate thermometer, a hydrometer for specific gravity readings, and either bottles or a small kegging setup for packaging. Extract brewers need less mash gear, while all‑grain brewers add a mash tun and larger kettle; beginning with extract or partial mash reduces complexity and cost. Useful upgrades later include tighter temperature control (a fermentation fridge or controller) and a stainless conical fermenter for consistency. Prioritize a solid kettle, accurate temperature tools and sanitation—those give the biggest gains in batch‑to‑batch reliability.
How to Maintain and Sanitize Brewing Equipment Properly?
Follow a three‑step routine: pre‑rinse to remove debris, clean with a suitable detergent to strip organic soils, then sanitize with a no‑rinse product immediately before any part touches cooled wort or finished beer. Use peracetic acid or iodophor at manufacturer contact times; avoid bleach unless you rinse and neutralize thoroughly, since residues can cause off‑flavors. Inspect for scratches and worn rubber parts that trap residue and harbor microbes—replace gaskets and tubing as needed. Consistent sanitation reduces spoilage, improves clarity and flavor, and makes fermentation outcomes more predictable.
Clean gear sets the stage for reliable fermentation—when your equipment is sanitary, yeast behavior determines flavor rather than infection.
What Is the Beer Fermentation Process and How Does It Work?
Fermentation is a biochemical process: yeast metabolizes wort sugars into alcohol, carbon dioxide and dozens of flavor‑active compounds. Managing temperature, oxygenation and yeast health during primary and conditioning stages shapes the beer’s final character. After pitching, yeast move through a lag phase into vigorous primary fermentation—the period of most sugar conversion—followed by conditioning where flavors mellow and intermediates like diacetyl are reduced. Know the typical timelines and temperature ranges for ales and lagers so you can time gravity checks and packaging correctly. Below is a clear step‑by‑step of fermentation stages and key actions.
Fermentation stages and key actions—quick checkpoints for beginners.
- Wort Cooling & Oxygenation: Cool wort to the yeast’s target pitching temperature and oxygenate to support healthy cell growth.
- Primary Fermentation (3–7 days for ales): Vigorous CO₂ production and most sugar conversion; watch gravity and krausen.
- Conditioning / Secondary (1–3 weeks): Flavor maturation, diacetyl reduction, and settling of trub and yeast.
- Cold Crash & Packaging: Drop temperature to clear the beer before bottling or kegging to improve clarity and stability.
These checkpoints outline each stage; next we’ll expand on typical durations and the signs that tell you when to move to the next step.
What Are the Key Stages of Fermentation in Beer Brewing?
Primary fermentation shows active yeast growth and brisk CO₂ release and usually lasts 3–7 days for many ales; gravity falls rapidly and a krausen (foam) forms as sugars are consumed. Conditioning follows and can last days to weeks depending on style—this period smooths flavors and lets the yeast clean up intermediate compounds. Extended maturation and cold‑conditioning improve clarity and stability, especially for lagers where long cold lagering yields a very clean profile. Regular gravity checks and sensory cues at each stage help confirm completion and avoid over‑carbonation or stalled fermentation.
How Do Temperature and Time Influence Fermentation Quality?
Temperature controls yeast metabolism: warmer fermentations speed attenuation and ester production but risk fusel alcohols and solventy off‑notes; cooler fermentations suppress esters for a cleaner finish but lengthen the process. Typical ale ranges are 18–22°C and lager ranges 8–13°C; keeping within a strain’s recommended window optimizes flavor while minimizing unwanted by‑products. Practical beginner solutions include a temperature‑stable room, a water bath, or an entry‑level fermentation fridge with a simple controller. Attentive time and temperature management produces cleaner beer and more predictable attenuation—making packaging and pairing decisions easier.
Which Craft Beer Styles Can Beginners Brew at Home?
Choose approachable styles that tolerate small process variation and modest temperature control: American Pale Ale, Brown Ale, Porter, Hefeweizen and simplified Belgian Saison are all good first projects. These beers use straightforward grain bills and reliable yeasts and teach core skills—hop use, mash control and fermentation—without demanding advanced techniques like decoction or extended lagering. The table below compares styles by core ingredients, typical OG/ABV and fermentation temperature to help you pick a first recipe that fits your equipment and climate.
Intro: Compare styles so you can choose a recipe that matches your setup and local conditions.
Most beginner styles fall within manageable OG and temperature ranges, letting you focus on sanitation, pitching rate and simple hop timing.
What Are Popular Beginner-Friendly Craft Beer Recipes?
Start with simple extract or partial‑mash recipes to learn process control without complex mash equipment. A classic extract pale ale uses pale liquid extract, a small specialty malt steep, one or two hop additions and an ale yeast with a moderate fermentation schedule. For all‑grain starters, a single‑infusion mash at 65–67°C produces a balanced body and fermentability good for pale ales and brown ales. Key checkpoints: take an original gravity, confirm active fermentation within 24–48 hours of pitching, and record final gravity to calculate ABV. Keep recipes modest (3–5 fermentables, 1–2 hop varieties) to reduce variables for your first batches.
How Do Different Beer Styles Affect Brewing Techniques?
Styles change mash temp, hop timing and fermentation management: lagers need cool fermentation and extended lagering; wheat beers use higher unmalted wheat percentages and adjust mash viscosity; hoppy ales benefit from late hop additions or dry hopping for aroma. Advanced methods—decoction, step mashes and controlled cold‑conditioning—help traditional or high‑precision beers but aren’t necessary for many beginner styles. Learn one new technique at a time: first steady mash temperature, then hop timing, then advanced yeast handling. A planned progression keeps skill growth aligned to the styles you want to brew.
How to Pair Craft Beer with Fine Dining Experiences?
Good beer‑food pairing balances weight, acidity, bitterness and aroma so both dish and beer are elevated. Carbonation and malt backbone cleanse fat, lift umami and accent delicate textures. For delicate Japanese courses—sashimi, nigiri—choose light, effervescent beers with restrained bitterness so subtle flavors can shine. Richer courses like A5 Wagyu call for beers with enough acidity or hop lift to cut fat and refresh the palate. Below are practical pairing principles and examples to bridge your homebrew knowledge to refined dining. After the examples, we’ll note how these choices can enhance a reservation at Kaviar Restaurant.
Basic pairing principles to guide your selections:
- Match weight: Pair lighter beers with delicate dishes and fuller beers with rich, fatty courses.
- Contrast texture: Use carbonation and acidity to cut fat and reset the palate between bites.
- Complement flavor: Let malt sweetness or roast echo caramelized or umami notes in food.
These principles lead into specific pairings for omakase and A5 Wagyu.
What Craft Beers Complement Japanese Omakase and A5 Wagyu?
For sushi and sashimi, opt for clean, low‑bitterness beers—a dry rice lager or a light pilsner‑style ale—whose grain notes and crisp carbonation lift seafood without masking texture. A5 Wagyu’s intense marbling benefits from an amber ale with balanced malt or a lively saison with citrusy phenolics to cut richness and highlight umami; a restrained porter can work with a well‑seared crust if it doesn’t overwhelm. For caviar, a dry, highly carbonated saison or a gently saline gose can offer a pleasing contrast and minerality. Think acidity, carbonation, bitterness and malt character as tools to shape the interaction with texture and flavor.
How Does Beer Pairing Enhance Luxury Dining at Kaviar Restaurant?
Kaviar focuses on elevated Japanese tasting menus—omakase, A5 Wagyu and caviar—where thoughtful beer pairings can deepen each course. A crisp, low‑ester pale lager or rice‑forward ale will sharpen ocean flavors in nigiri, while a saison with moderate acidity and spice can balance Wagyu’s fat and intensify savory notes. Guests interested in a paired experience can request beer pairing suggestions when booking so the tasting sequence aligns with beer selections. Offering craft beer alongside wine creates a contemporary alternative that highlights texture and modern flavor interplay within Kaviar’s multi‑course format.
This practical note connects pairing strategy to Kaviar’s menu and reservation planning, then returns you to troubleshooting for homebrewing.
What Are Common Troubleshooting Tips for Beginner Brewers?
Beginners most often face stalled or slow fermentations, off‑flavors like diacetyl or phenolics, and contamination. Diagnose by symptoms, then apply corrective steps: check temperature and gravity, review sanitation and yeast viability, and use targeted fixes such as gently rousing yeast, slightly warming the fermenter, or repitching healthy yeast. Prevent problems with good sanitization, correct pitching rates and proper oxygenation—these measures stop many issues before they start. The short lists below map symptoms to likely causes and practical fixes so you can triage calmly and effectively.
How to Identify and Fix Common Brewing Problems?
Match common symptoms to causes and remedies to simplify recovery. Use the symptom → cause → fix checklist below to diagnose frequent issues encountered by new brewers.
- Buttery Diacetyl: Often from incomplete fermentation or too‑cold conditioning; remedy by holding the beer at a warmer conditioning temperature for several days so yeast can reabsorb diacetyl.
- Phenolic / Medicinal Flavors: Frequently due to wild yeast contamination or chlorine in the water; remedy by improving sanitation and using dechlorinated water.
- Infection (sour or cheesy odors): Caused by sanitation lapses; remedy is to discard contaminated batches and review cleaning routines.
This quick checklist helps you take practical corrective steps and reduce recurrence through improved process control.
What Sanitation Practices Prevent Contamination in Homebrewing?
Adopt a rigorous sanitation routine: clean immediately after use, sanitize everything that contacts wort post‑boil with a no‑rinse sanitizer, and avoid exposing cooled wort to open air during transfer and packaging. Use peracetic acid or iodophor per manufacturer contact times; never rely on bleach without thorough rinsing and neutralizing. During bottling or kegging, sanitize bottling gear, caps and keg fittings and minimize splashing to limit oxygen pickup and infection risk. Replace worn tubing and inspect seals regularly—these steps make sanitation a reliable part of your brewing workflow rather than an afterthought.
Consistent sanitation and careful handling keep batches predictable as you progress and scale your skills.
Frequently Asked Questions
What is the importance of water chemistry in brewing beer?
Water chemistry shapes extraction and mouthfeel. Minerals affect mash pH, which in turn influences enzyme activity during mashing and ultimately flavor. For example, higher sulfate emphasizes hop bitterness while chloride brings malt roundness. Beginners should aim for moderately hard water or make small mineral adjustments to reach the balance they want in a given recipe.
How can I troubleshoot slow fermentation in my homebrew?
Slow fermentation is usually environmental: check temperature first—cold wort makes yeast sluggish. Confirm you pitched enough healthy yeast and that wort received adequate oxygen before pitching. If fermentation is still slow, gently raise the fermenter temperature and rouse the yeast by swirling. If those measures fail, consider repitching with a fresh starter to kick things back into gear.
What are some common off-flavors in homebrewed beer and their causes?
Typical off‑flavors include diacetyl (buttery), often from incomplete fermentation or too‑cold conditioning; phenolic, medicinal notes from wild yeast or chlorinated water; and sour or cheesy odors that point to infection from poor sanitation. Identifying the flavor and its likely origin guides corrective steps for future batches.
How does fermentation temperature affect the final beer flavor?
Fermentation temperature is one of the biggest flavor controls. Warmer fermentation tends to raise ester and phenolic production, producing fruitier or spicier notes desirable in many ales. Cooler fermentation suppresses those compounds for a cleaner finish, as in lagers. Stick to the yeast strain’s recommended range for the profile you want and to avoid unwanted by‑products.
What are the benefits of using a fermentation fridge?
A fermentation fridge gives precise temperature control, which stabilizes yeast performance and reduces stress that leads to off‑flavors. It’s especially helpful for temperature‑sensitive styles like lagers and for cold crashing to improve clarity before packaging. Overall, it makes fermentation outcomes more consistent.
What is the role of carbonation in beer and how can I achieve it?
Carbonation affects mouthfeel, aroma release and overall refreshment. You can carbonate naturally via bottle conditioning—adding a small measured sugar dose before sealing so yeast produce CO₂—or force carbonate with a CO₂ tank and regulator. Monitor levels carefully to avoid over‑carbonation, which causes gushing and off‑flavors.
How can I improve my beer pairing skills with food?
Improve pairing by focusing on balance. Match the beer’s weight to the dish, use carbonation and acidity to contrast fatty textures, and let complementary flavors—malt sweetness to caramelized notes, for instance—enhance the plate. Taste deliberately and experiment: pairing is a learned skill that rewards careful practice.
Conclusion
Learning the fundamentals of beer brewing opens a rewarding culinary craft. With a clear understanding of ingredients, equipment and process, you can brew thoughtful beers at home and pair them confidently with refined food. Enjoy the learning curve: start with simple recipes, keep sanitation and temperature control as priorities, and let tasting guide your next experiments. Begin your brewing journey today—small, well‑planned batches build lasting skill and delicious results.