

Professional Food Styling Tips for Photography: Mastering Luxury Japanese Fine Dining Presentation
Food styling for photography is how a plate tells its own story—about origin, craft, and flavor—through composition, texture, and light. That story is especially delicate in luxury Japanese dining, where restraint and ingredient integrity matter most. This guide walks photographers and stylists through practical plating approaches, lighting choices, essential tools, and dish-specific techniques so premium ingredients—A5 Wagyu, caviar, and omakase courses—translate faithfully and enticingly on screen. The core challenge is simple: how to make two-dimensional images convey the depth and care of a multi-course experience so they inspire reservations and strengthen brand perception. Read on for minimalist and stacked plating methods, ways to shape natural and artificial light for texture and gloss, non-invasive styling tools, and step-by-step workflows for signature dishes. As an example, Kaviar Restaurant in Pasadena uses considered imagery to represent omakase, Wagyu, and caviar offerings and to encourage bookings through clear visual storytelling. The sections below are organized into plating techniques, lighting setups, styling tools, signature-dish workflows, and how styled photography drives luxury dining and reservations.
What are the essential plating techniques for professional food photography?
Plating techniques are the practical moves stylists use to create a clear focal point, balance positive and negative space, and foreground texture and color so images read immediately as premium. These choices guide the viewer to moments of interest—the marbling in Wagyu or the glossy surface of caviar—while using portioning, placement, and finishing touches that preserve visual cues of flavor and care. The result: photographs that communicate provenance and craftsmanship, lift perceived value, and increase shareability. Below are concise, high-impact tactics you can apply across luxury dishes so images remain both honest and aspirational.
To summarize the most actionable plating moves that translate directly to compelling photography, consider these focused points:
- Use negative space to set the focal ingredient apart so the camera captures detail without distraction.
- Build one strong focal point—through layering or subtle stacking—to add depth and compositional clarity.
- Apply sauces and micro-garnishes with restraint: add contrast without masking surface texture.
These core steps protect ingredient integrity while producing images that read cleanly at thumbnail and full sizes. Next, we compare specific plating styles and when each serves a luxury ingredient best.
Different plating contexts support different visual goals; the table below outlines common styles and when to choose them.
How does minimalist plating enhance luxury dish presentation?
Minimalist plating strips away distraction so the inherent qualities of a premium ingredient become the image’s subject. By using negative space, precise placement, and restrained garnishing, you let texture and gloss read clearly on camera. Practically, that means small, deliberate gestures: a single sauce swipe, one microgreen placed with tweezers, and a measured brush of finishing oil to create a controlled sheen. Photographically, this reduces compositional noise and gives the lens a single, unmistakable focus—often enhanced with shallow depth of field to elevate perceived luxury. Mastering restraint naturally leads to lighting choices that preserve surface detail and subtle highlights.
Which plating styles best showcase A5 Wagyu and caviar dishes?
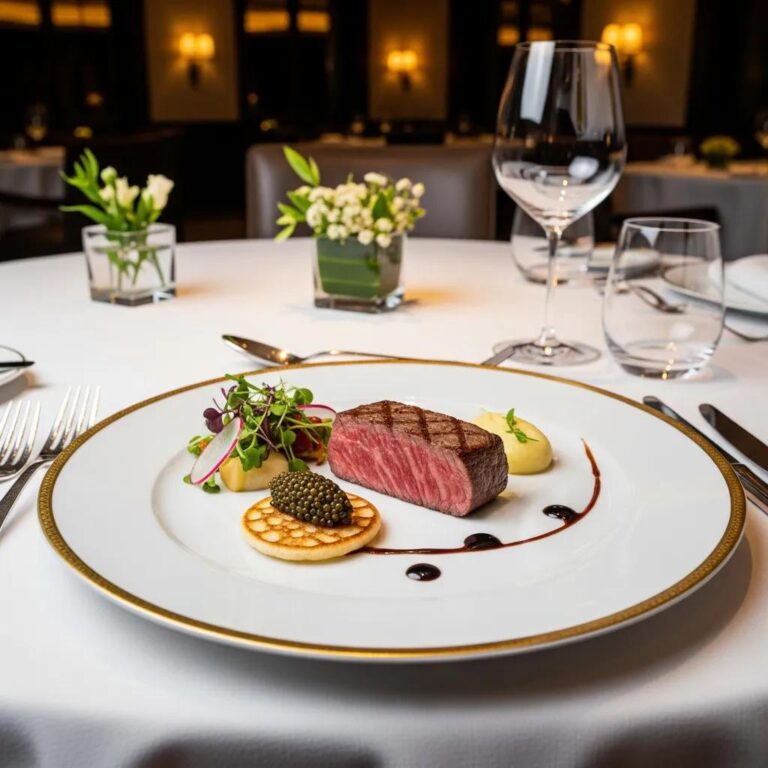
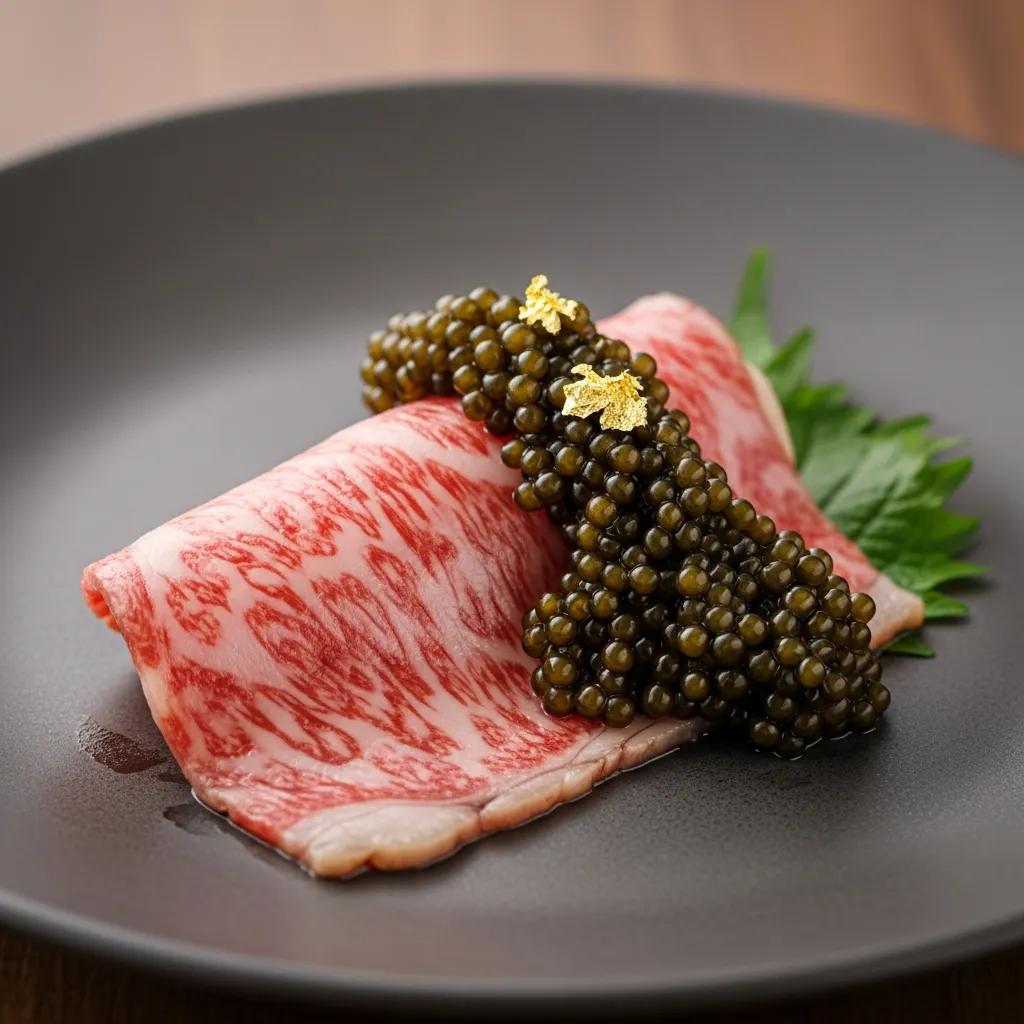
A5 Wagyu benefits from presentations that reveal cross-sectional marbling and defined sear lines; focus on slice thickness, angle, and a minimal bed so color and texture aren’t disrupted. Present two to four cross-sectional slices slightly overlapped on a neutral, matte plate to let marbling read; finish with a whisper of oil and a tiny herb to suggest aroma without obscuring texture. Caviar performs best on a small, simple pedestal—porcelain spoon or chilled mother-of-pearl dish—and near-monochrome surroundings so the pearls become the anchor. For caviar, position a spoon to catch a delicate highlight and pair it with a minimal dollop of crème fraîche placed off-center. These dish-specific rules preserve texture and guide the camera toward unmistakable luxury cues.
How can lighting be optimized for high-end food photography?

Optimized lighting is the deliberate control of direction, softness, and color temperature so texture, sheen, and subtle color shifts read as fresh and premium. Light sculpts specular highlights and shadow to communicate material qualities: soft wrap light preserves gloss, while modest directional light sculpts marbling and edge definition. When planning lighting, choose a primary source that flatters the dish’s strongest textures and use fill cards and flags to control contrast so highlights remain defined without blowing out. Below we compare natural setups and common artificial approaches so you can select the best fit for a restaurant shoot or studio session.
Before we compare setups, use this quick natural-light checklist during a restaurant shoot:
- Rely on large, diffused window light as the primary source for soft, even illumination.
- Place the light at roughly 30–45 degrees to the dish to bring out texture.
- Use a white card or reflector to gently lift shadows without flattening contrast.
These principles are the foundation for controlled studio lighting and help you move seamlessly between natural and artificial modifiers.
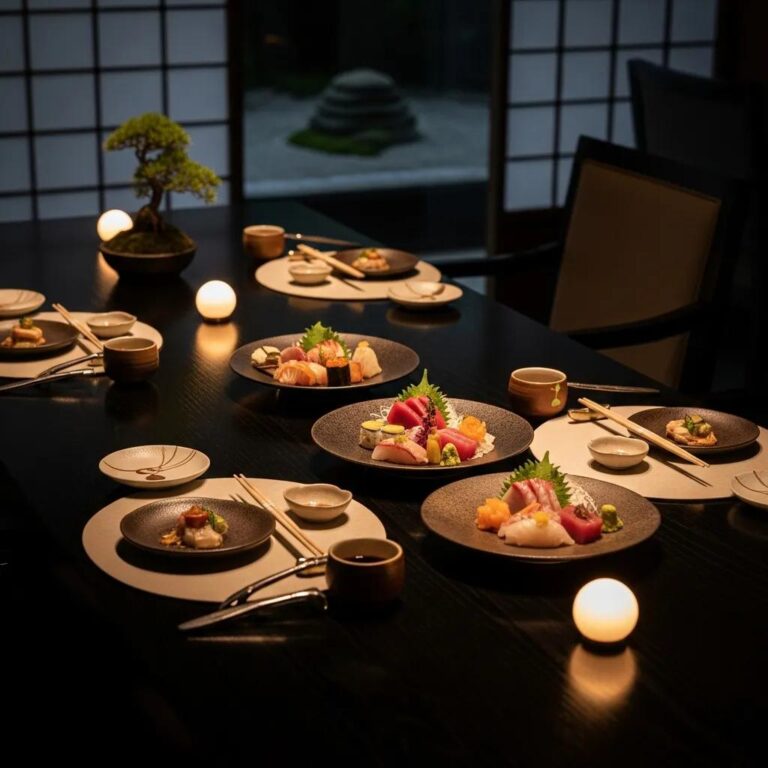
What natural lighting setups work best for Japanese fine dining photos?
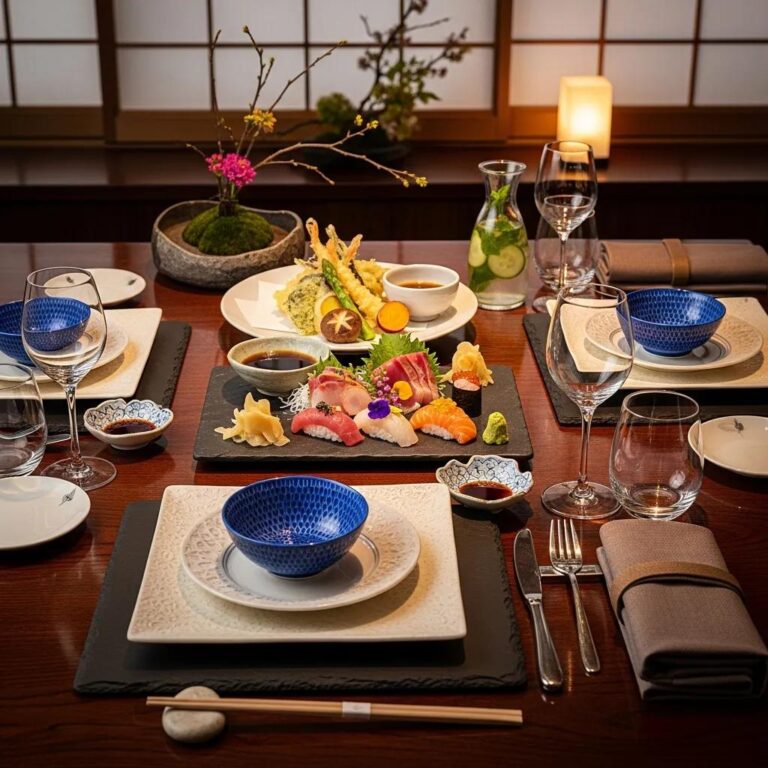
For Japanese fine dining, prioritize large, diffused sources and careful ambient control so images stay restrained and true-to-tone. Shoot near a north-facing window when possible or soften strong sun with a scrim to create flattering, even wrap light for porcelain and seafood. Place a white foam-core reflector opposite the window to lift shadows by about one stop, and use a black card near the frame edge to deepen backgrounds without adding color cast. Timing matters: overcast days and morning light offer even balance; late afternoon yields warmer highlights that can be used selectively. These setups scale from quick restaurant captures to methodical studio shoots, and small adjustments keep the presentation consistent across locations.
How do lighting types affect the visual appeal of luxury ingredients?
Lighting changes how viewers perceive texture, contrast, and freshness. Soft light preserves sheen and translucence; directional light reveals depth and marbling. For A5 Wagyu, a slightly directional source at a low angle casts short shadows that emphasize marbling and sear texture; a soft rim light adds delicate edge separation. For caviar, small bright sources or reflectors create fine catchlights that make pearls appear luminous without oversaturating color. Color temperature also changes perceived richness: neutral (5000–5600K) keeps ingredient fidelity, while slightly warmer tones (around 3000–4000K) can enhance perceived succulence in select compositions. Knowing these effects helps you choose or modify lights to translate texture and quality accurately into images.
What professional food styling tools improve photography outcomes?
Professional styling tools are precise instruments that let stylists control placement, texture, and surface appearance so photographs read consistently as luxury. These tools let you tweak micro-elements—garnishes, sauce lines, highlights—without damaging delicate ingredients, producing frames that look both prepared and photogenic. The right kit reduces retouching, speeds the plate-to-camera workflow, and preserves hygiene and repeatability when shooting multiple courses. Below are essential, camera-first tools and their primary purposes, followed by a quick reference table.
Start with these camera-forward styling tools in your kit:
- Fine-point tweezers for exact microgreen placement and precise accents.
- Squeeze bottles for repeatable sauce lines and dots.
- Soft brushes and cotton swabs to shape oil and remove stray shine.
These essentials let you make micro-adjustments that improve texture capture and reduce time spent in post; the table below summarizes their functions and benefits.
Which props and backgrounds complement luxury Japanese dishes?
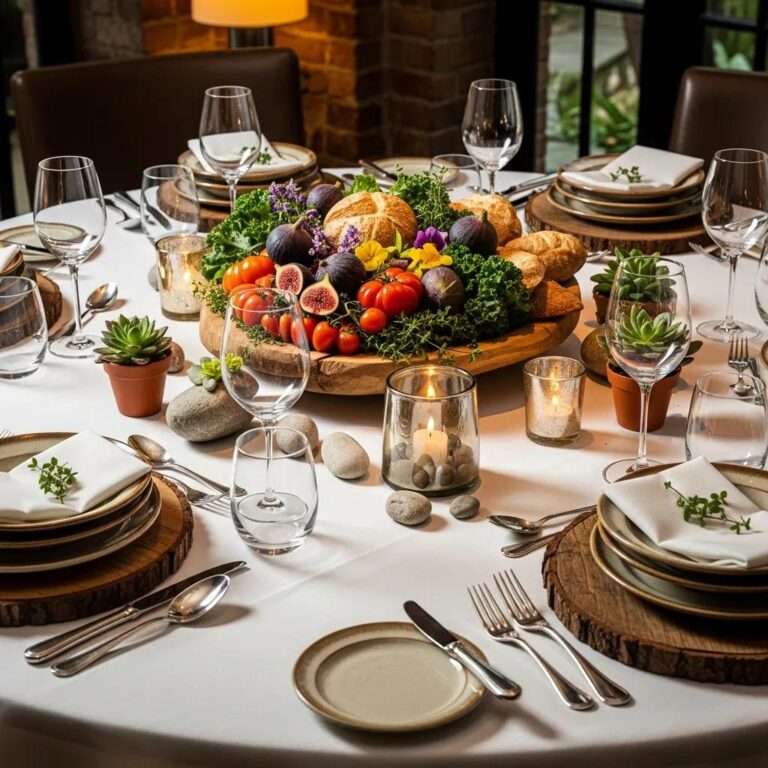
Choose props and backgrounds that reinforce a refined Japanese aesthetic—neutral, textured materials and small-scale accents that support the dish without taking attention. Neutral matte porcelain, dark slate, and lightly textured wood provide subtle context that helps Wagyu and caviar pop while keeping reflections controllable. Small, elegant props—chopsticks, a tasting spoon, or a handcrafted ceramic cup—work best when used sparingly to suggest service and scale. Avoid busy patterns and saturated colors that can alter white balance or compete with ingredient tones; instead, favor tonal palettes that complement the primary element. Thoughtful prop choices clarify the narrative and prepare the scene for targeted lighting and camera decisions.
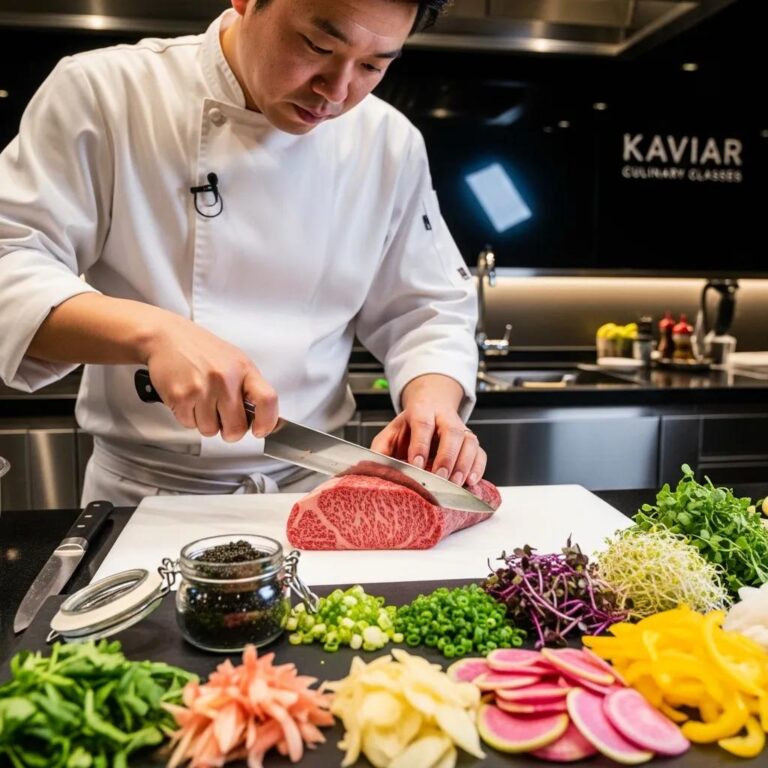
How to select styling tools for capturing A5 Wagyu and caviar textures?
Selecting tools for A5 Wagyu and caviar is about precision and gentle handling to preserve surface texture and gloss. For Wagyu, use thin-blade knives for clean cross-sections, fine tweezers for minimal garnishes, and soft brushes to remove excess oil without smearing sear marks. For caviar, mother-of-pearl or polished metal spoons and small, soft brushes let you position pearls with minimal contamination and ideal catchlights; tiny gels or micro-reflectors shape specular highlights without overexposure. The aim is to enhance natural traits—marbling in Wagyu, translucence and pearl structure in caviar—and let those qualities inform camera and lighting choices.
How to style signature luxury dishes for compelling food photography?
Styling signature dishes requires a repeatable pipeline: pre-visualize the frame, plate with camera-friendly intent, make micro-adjustments with precision tools, and finalize lighting and composition before pressing the shutter. This workflow preserves the narrative of an omakase sequence or a standout course like A5 Wagyu while keeping shoots efficient and respectful of service. The shot list and stepwise practices below act as a playbook for capturing omakase flow, compositional variety, and marketing-ready assets. After the general guidance, we show how these methods apply to Kaviar Restaurant’s signature plates to turn menu highlights into reservation-driving imagery.
Use this practical shot list when approaching a signature course or omakase plate:
- Establish a hero shot: 45° straight-on composition with the primary ingredient centered.
- Detail macro: Tight crop to capture marbling or pearl texture.
- Context frame: Wider plate-in-environment shot to show scale and mood.
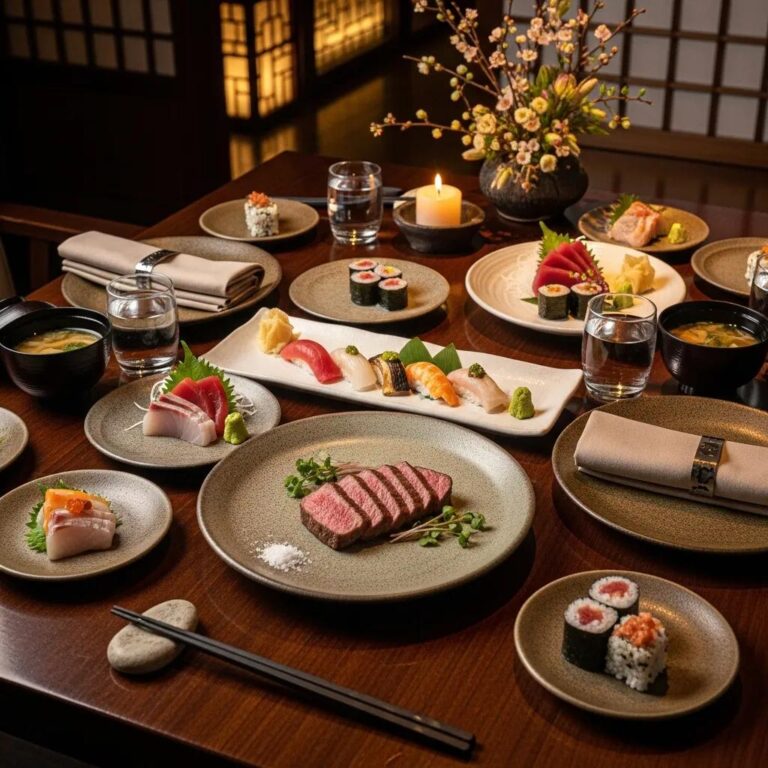
What are the best practices for styling A5 Wagyu omakase dishes?
When styling A5 Wagyu for omakase photography, prioritize slice orientation, minimal bedding, and thoughtful finishing so marbling reads and sear texture remains prominent. Slice consistently and arrange pieces slightly overlapped at an angle to expose cross-sections; use a matte, neutral plate to avoid competing reflections. Apply finishing oil with a fine brush to accentuate marbling, then blot excess to prevent blown highlights. Include minimal, context-appropriate props—chopsticks or a small wooden board—off-frame or partially in frame to suggest service without clutter. Use a medium-telephoto lens to compress depth and a shallow aperture to keep the focal plane on the meat’s cross-section. These steps form a repeatable pipeline from plating to capture that preserves the dish’s luxury cues.
How to photograph caviar dishes to highlight their premium quality?
Photographing caviar is about controlled light and careful isolation so pearls read as luminous and three-dimensional. Use an angled side light to create fine specular highlights on each pearl and place a small reflector opposite to gently fill shadows while keeping dimension. Shoot with a shallow depth of field so the pearls glow against a muted backdrop, and include a reflective spoon or mother-of-pearl dish to add context and scale without overpowering texture. Keep base ISO low and expose for highlights so gloss and translucence register as rich and tactile in the final frame. These moves turn small, delicate details into unmistakable signals of luxury.
How does professional food styling support the luxury dining experience?
Professional styling translates culinary craft into visual signals that raise perceived value, communicate provenance, and influence reservation behavior. Styled photography shapes expectations by showing guests what matters most—ingredient quality, precision, and atmosphere—so images become trust-building assets that shorten the path to booking. Beyond aesthetics, image SEO best practices—accurate alt text, descriptive filenames, and structured data linking menu items to reservations—make styled assets discoverable and actionable across search and social. The next sections explain why narrative presentation matters and offer concrete steps to convert imagery into bookings through on-page CTAs and schema.
The business value of styled imagery shows up in three clear outcomes:
- Perceived value uplift: Polished images increase willingness to pay and intent to reserve.
- Discovery and conversion: Properly tagged photos improve visibility and click-throughs to reservations.
- Social proof: Shareable imagery extends reach and motivates bookings through earned impressions.
These results explain why restaurants that invest in professional styling see measurable returns and set the stage for integrating storytelling with conversion tactics.
Why is storytelling through food presentation important in fine dining?
Storytelling matters because each plated course is a visual chapter of the guest experience—conveying provenance, technique, and the chef’s intent through ingredient placement, color, and prop cues that photography can amplify. Consistent storytelling—unified plateware, garnish language, and lighting—creates a recognizable brand language guests associate with care and quality, increasing reservations and advocacy. Visual narrative also helps diners make confident choices when choosing experiences like omakase, where trust in the unseen kitchen is essential. High-quality images that tell a cohesive story travel farther, extending earned media and driving organic interest.
How to integrate styled dish photography with reservation calls to action?
Pair styled images with clear reservation CTAs by placing direct, descriptive prompts next to signature-dish photos and using structured data to connect photographed MenuItems to booking flows so users move from inspiration to action with minimal friction. Place short anchor text like Reserve your omakase experience next to hero images, and ensure image alt text and captions reference the dish and experience—this strengthens semantic relevance for discovery and clarifies the conversion path. Implement Menu and Reservation schema to tie photographed MenuItems to booking actions so search engines and widgets can present accurate previews and direct booking options. For a restaurant like Kaviar in Pasadena, pairing curated photography with a clear reservation prompt converts visual desirability into confirmed bookings by creating a measurable path from image to table.
For luxury restaurants such as Kaviar Restaurant in Pasadena, pairing signature imagery with concise reservation prompts helps move guests from admiration to action; linking curated photos to menu entries and CTAs creates a direct, trackable route to reservations.
Frequently Asked Questions
What are the key differences between minimalist and stacked plating styles?
Minimalist plating isolates a single ingredient to showcase texture and purity, using negative space for a clean, elegant look. Stacked plating adds height and layers multiple components to create visual drama. Minimalist works best for delicate items like caviar or sashimi; stacked plating suits complex compositions that benefit from a more dynamic silhouette. Choose based on the dish’s character and the visual story you want to tell.
How can I ensure my food photography captures the essence of luxury dining?
Focus on three fundamentals: composition, lighting, and styling. Frame clean, intentional compositions that emphasize the dish’s key ingredient; use soft, diffused light to reveal texture and sheen; and select props and backgrounds that complement without competing. Together these choices convey refinement and make images feel aligned with a luxury dining experience.
What role does color temperature play in food photography?
Color temperature affects how ingredients read. Neutral daylight (about 5000–5600K) preserves true colors and freshness. Warmer temperatures (3000–4000K) can enhance perceived richness in some dishes. Adjust temperature in-camera or in post to achieve the mood you want while keeping ingredient fidelity top of mind.
What are some common mistakes to avoid in food styling for photography?
Common errors include overcrowding the plate, using distracting props, and ignoring lighting. Overcrowding hides the main ingredient; busy props steal focus; poor lighting flattens texture. Favor simplicity, choose props that support the narrative, and optimize lighting to showcase the dish’s best attributes.
How can I effectively use props in food photography?
Use props with subtlety and purpose. Choose neutral or textured materials that complement the dish. Small accents—chopsticks, an elegant spoon—can provide context and scale, but avoid bold patterns or bright colors that compete with the food. Props should enhance the story while keeping the plate the primary subject.
What techniques can enhance the perceived value of food images?
Elevate perceived value with thoughtful lighting, composition, and restrained styling. Soft, directional light highlights texture and sheen; composed frames guide the eye to the primary element; and minimal styling removes distractions. Select props and plateware that reinforce the luxury theme to lift the overall presentation and communicate craftsmanship.
Conclusion
Styling food for luxury Japanese fine dining is about translating culinary care into images that attract and convert. With the right plating techniques, lighting approach, and precision tools, photographers and stylists can create images that honor ingredients like A5 Wagyu and caviar while driving reservations and elevating brand perception. Use the methods here to turn culinary artistry into visuals that resonate with discerning diners—then pair those images with clear booking prompts to complete the path from inspiration to table.