


Mastering Sauce Making at Home — Essential Techniques for Restaurant‑Quality Sauces
Sauce making is the quiet work that turns simple ingredients into dishes that taste deliberately finished and restaurant‑ready. This guide walks home cooks through the fundamentals — stocks, emulsions, reductions, and roux — and the practical skills you need to solve common problems like lumps, broken emulsions, or flat flavors. You’ll learn how to build depth from fond and reduction, stabilize hollandaise and aioli, and make authentic ponzu and miso glaze for everyday meals with a fine‑dining sensibility. The sections that follow cover the five mother sauces, preferred thickening methods, flavor‑building strategies with premium ingredients, Japanese‑inspired sauces, troubleshooting for advanced techniques, and pairing and plating guidance that lifts a home dinner into an elevated experience. Expect clear, actionable recipes, comparison tables, and step lists designed for immediate, repeatable results.
This content is structured and SEO‑ready to reflect Kaviar’s fine‑dining craft, showcase our signature dishes and premium ingredients, and support reservation intent. It’s tailored to attract diners searching for Japanese fine dining, omakase, A5 Wagyu, caviar plates, and luxury restaurant experiences in Pasadena.
What are the five classic mother sauces — and how do you make them?
The five mother sauces are foundational: they pair a base (milk, stock, tomato, or egg emulsion) with a primary thickening method to produce a stable sauce that can be adapted into countless derivatives. Mastering béchamel (milk + roux), velouté (light stock + roux), espagnole (brown roux + brown stock), tomato (tomato + reduction), and hollandaise (egg yolk emulsion) gives you reliable texture and flavor platforms for pan sauces, veloutés, and glazes. Below are concise cues and a comparison table to help you execute each sauce consistently and adapt techniques to protein juices, premium fats, and umami boosters in later sections.
Use visual indicators — roux color, nappe consistency — control heat to avoid curdling or burning, and taste late to fine‑tune seasoning. These cues lead naturally into the step‑by‑step preparations that follow.
How to prepare béchamel, velouté, espagnole, tomato, and hollandaise — step by step

Béchamel: cook equal weights of butter and flour into a pale roux, whisk in warm milk gradually, and simmer until the sauce coats the back of a spoon (nappé). Velouté: make a blond roux and add a warm light stock (chicken or vegetable); reduce and season to concentrate flavor. Espagnole: build a brown roux with mirepoix and brown stock, reduce to a deeply flavored base, then strain and use as the backbone for demi‑glace. Tomato: start with a soffritto, deglaze, add crushed tomatoes and reduce until bright; finish with butter for gloss. Hollandaise: emulsify whisked egg yolks with clarified butter over gentle heat or with an immersion blender; a whisper of lemon and a touch of mustard can stabilize the emulsion. Each method emphasizes temperature control, staged additions, and visual cues like color and thickness for repeatable results.
What are the key ingredients and techniques behind each mother sauce?
The principal techniques are roux‑based thickening, stock reduction, and emulsification — each manipulates fat, starch, and liquid to control texture and concentration. Roux timing matters: white roux for béchamel, blond for velouté, brown for espagnole; longer cooking deepens flavor but reduces thickening power. Stock choice shapes character: a strong brown stock gives espagnole its depth; delicate fish or chicken stock keeps velouté light. Emulsifiers (egg yolk, mustard, lecithin) suspend fat in a water phase for hollandaise; temperature control prevents curdling. At home, always strain mother sauces for silkiness and finish with a little cold butter for shine and mouthfeel. Mastering these techniques makes layering flavors and troubleshooting far more straightforward.
This comparison underlines each sauce’s structural role and how the choice of thickening method changes the final application.
Which thickening methods work best for homemade sauces?
Thickening options — roux, slurry, reduction, beurre manié, and emulsification — each bring different results in clarity, gloss, and flavor. Roux builds body and toasty flavor but needs time to cook out raw flour notes. Slurries (cornstarch, arrowroot) thicken quickly and give sheen, though arrowroot keeps better in refrigeration and offers more clarity. Reduction concentrates flavor and keeps the sauce starch‑free; beurre manié is ideal for finishing, adding silkiness without overcooking. Emulsifiers create stable fat‑in‑water textures for beurre monté, hollandaise, and aioli. Match the method to the protein, cooking time, and desired presentation for best results.
Consider acidity, freezing requirements, and mouthfeel when you choose a thickener; the tables and tips that follow outline practical trade‑offs.
How to master roux — white, blond, and brown explained
A roux is simply fat and flour cooked to a color that signals flavor and thickening power. White roux thickens with minimal flavor (béchamel), blond roux adds a gentle toasted note (velouté), and brown roux brings nutty, savory depth (espagnole) while losing some thickening strength. Cook roux over medium heat with steady stirring, add warm liquid slowly to avoid lumps, and match liquid temperature for smooth incorporation. Never rush: overheated roux turns bitter and unusable. These guidelines lead into alternative thickeners for delicate or acidic sauces.
What alternative thickeners should you use — and how do you avoid lumps?
Slurries: mix equal parts cold cornstarch or arrowroot with water, then whisk into simmering liquid; temper acidic sauces to protect starch. Arrowroot gives a clear, glossy finish and stands up better to refrigeration than cornstarch. Gelatin adds a silky body for chilled sauces but will melt with heat. Beurre manié — a kneaded paste of cold butter and flour — is perfect for finish‑thickening in small additions. Understanding each agent’s behavior helps you choose the right approach and prevents textural surprises.
Use this table to choose a thickening method that balances convenience, flavor, and stability for home sauce work.
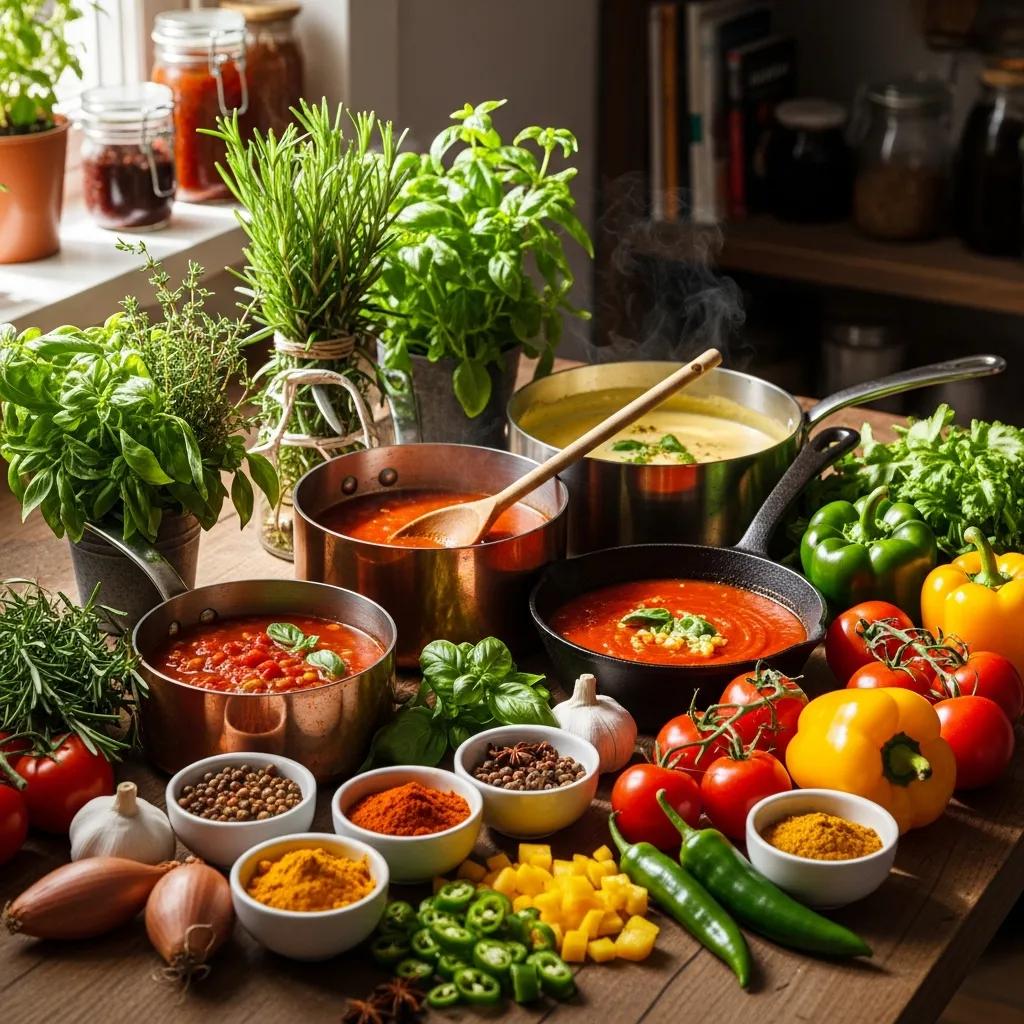
How can you balance flavors to create gourmet sauces at home?
Balanced sauces come from a deliberate interplay of salt, acid, fat, sweetness, umami, and bitterness. Start with a savory anchor — fond, stock, or reduced aromatics — then layer by deglazing, reducing, and finishing with fat or acid to preserve clarity and avoid over‑salting. Umami boosters (miso, dashi, reduced stock) add depth without simply increasing sodium; acids (vinegar, citrus) lift and brighten at the end. Premium ingredients change the equation: rendered A5 Wagyu fat calls for restraint and bright counterpoints, while caviar is best used sparingly as a briny finishing touch. The goal is to highlight superior ingredients, not to mask them.
Secrets to layering flavors and seasoning sauces perfectly
Think in three stages: base (build aromatics and stock), development (deglaze and reduce), finish (adjust acid, salt, and fat). Use a well‑made stock or fond as your umami anchor, deglaze with wine or vinegar to lift fond, and reduce to concentrate. Season cautiously during development and reserve potent seasonings (soy, miso, truffle) for the finish. Finish with cold butter or a splash of cream to round edges, then add acid to brighten. These checkpoints minimize emergency fixes and set up how premium ingredients shape the final sauce.
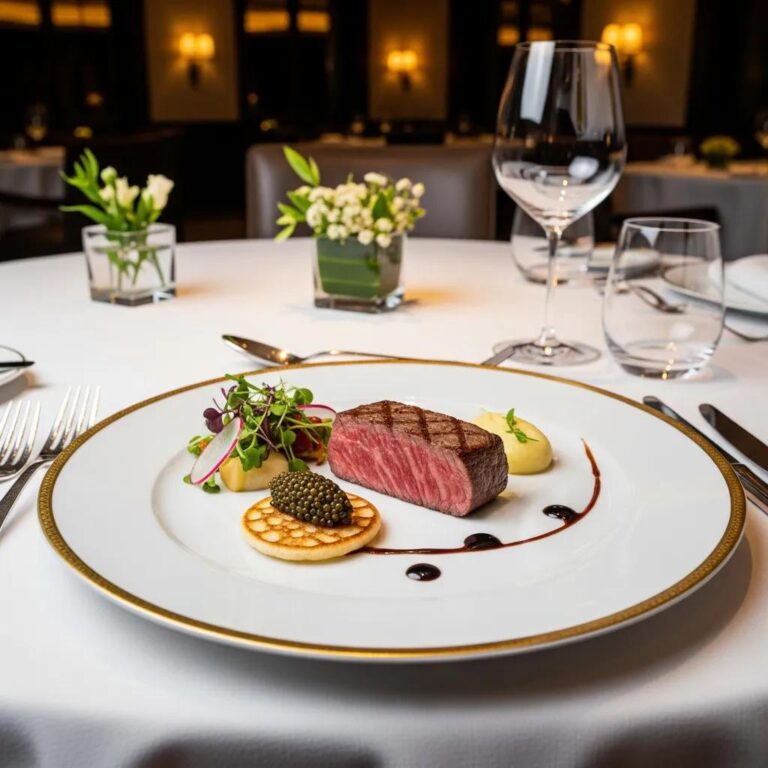
How premium ingredients like A5 Wagyu and caviar influence sauce flavor
A5 Wagyu renders rich fat that becomes a velvet jus; pair it with restrained salt and a bright acidic element to balance richness while preserving depth. Caviar functions as a finishing accent — a small spoonful delivers briny pops of flavor and texture; avoid cooking it into sauces. Intense ingredients (truffle oil, concentrated bone jus) can dominate if not used sparingly. Design sauces that complement and elevate the starring ingredient rather than compete with it. These principles lead directly into Japanese‑inspired techniques that value subtlety and balance.
- Balance rests on six elements: salt, acid, fat, sweetness, umami, bitterness.
- Season gradually and add acid late to retain control.
- Use premium ingredients with restraint; finish thoughtfully to preserve nuance.
These practical rules prepare you to apply classic techniques to Japanese sauces and delicate seafood applications.
How to craft Japanese‑inspired sauces for authentic home cooking
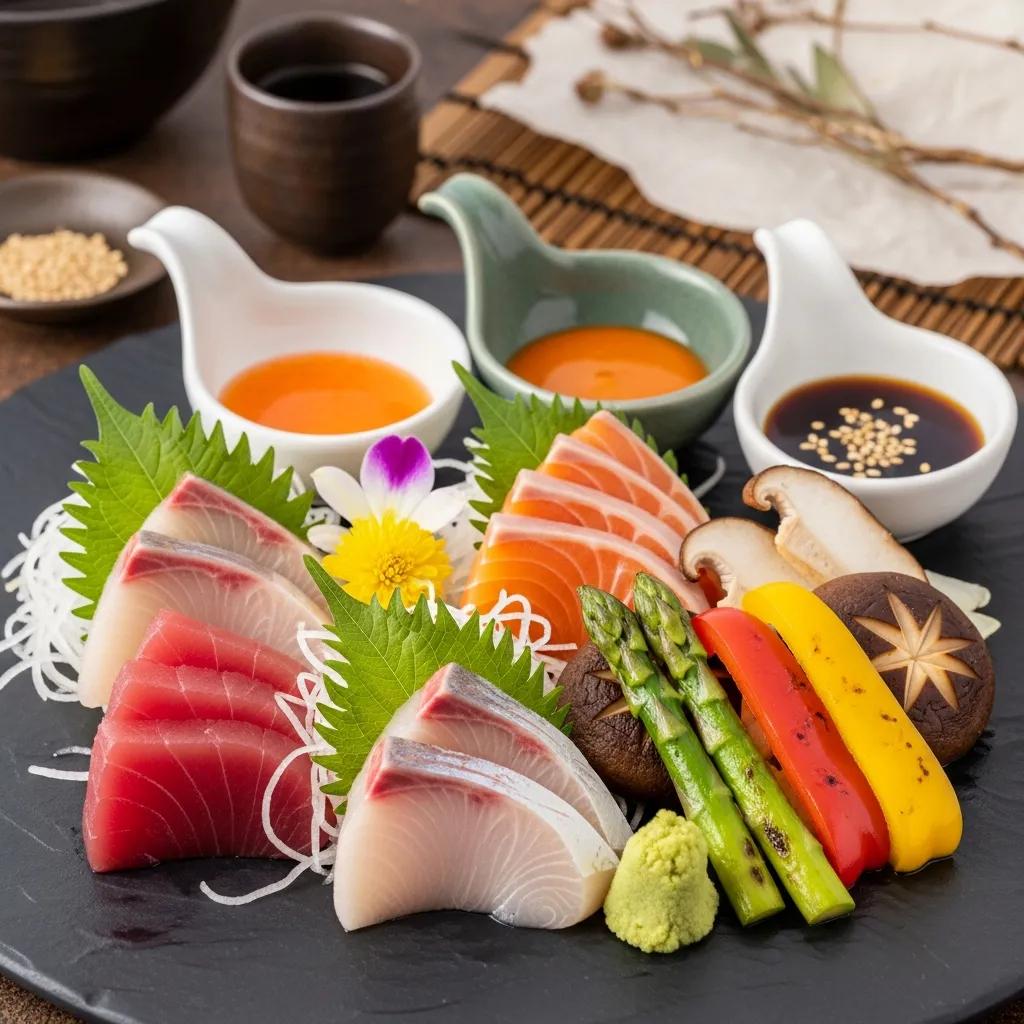
Japanese sauces prioritize umami (dashi, miso, soy), precision, and minimal, high‑quality ingredients. Ponzu blends citrus with soy and dashi for a bright, savory finishing sauce; miso glaze balances fermented soybean paste with mirin and sugar for a lacquered finish ideal for broiling. Yuzu kosho is a concentrated citrus‑pepper punch — a little goes a long way. Good dashi (bonito and kombu) or quality concentrated dashi makes these sauces accessible at home without sacrificing authenticity. Below are concise recipes for ponzu and miso glaze, plus pairing notes to guide use with seafood and grilled proteins.
How to make authentic ponzu sauce at home
Ponzu is a simple, balanced citrus‑soy‑dashi sauce: combine soy sauce, dashi, citrus juice (yuzu or lemon), a splash of mirin, and a touch of rice vinegar, then rest and strain for clarity. A practical ratio to start with is 3 parts soy : 1 part citrus : 1 part dashi, adjusted with mirin and a teaspoon of rice vinegar to taste. Resting in the refrigerator for a few hours mellows raw citrus edges and lets the flavors round out. Keep refrigerated in an airtight jar and use within two weeks for best freshness. Ponzu demonstrates how umami and acid lift delicate proteins without overpowering them.
How to make miso glaze and use yuzu kosho
Miso glaze is a cooked blend of miso (white or red), mirin, sake, and sugar reduced to a spreadable lacquer that adheres to proteins when broiled. White miso gives a lighter, sweeter glaze; red miso produces a deeper, saltier finish — adjust mirin and sugar to reach a glossy, clingy texture. Yuzu kosho is intensely aromatic and spicy: add tiny dots as a finishing accent or stir a whisper into dressings to brighten. Brush miso glaze on fish or vegetables near the end of cooking and broil briefly to caramelize for color and gloss.
This table clarifies ingredient roles and practical pairings for Japanese‑inspired sauces at home.
What are advanced sauce techniques — and how do you troubleshoot common issues?
Advanced work — controlled emulsification, mounting with butter, and precise reductions — refines texture, shine, and flavor concentration. Emulsions need steady temperature and gradual fat incorporation; mechanical tools (immersion blender) and stabilizers (mustard, lecithin) make hollandaise and aioli more forgiving. Watch reductions closely to avoid bitterness; lower heat and regular skimming keep clarity. Common fixes — straining, re‑emulsifying with warm water or a fresh yolk, diluting with unsalted stock, or balancing salt with acid or starch — are simple and effective. The sections below give repeatable recovery steps and prevention tactics so sauces can be rescued quickly during service.
These troubleshooting techniques matter because even skilled cooks encounter splits and seized sauces; the advice that follows is practical and replicable.
How to achieve perfect emulsification in hollandaise and aioli
Great emulsions depend on an optimal temperature window: egg yolks must suspend fat without scrambling. For hollandaise, hold yolks over a gentle bain‑marie or use a low‑speed blender, adding clarified butter in a thin, steady stream until glossy and thick; monitor temperature to stay below coagulation. An immersion blender speeds and stabilizes aioli; add a little acid or mustard to support the emulsion. If a sauce splits, whisk a fresh yolk with a tablespoon of warm water and slowly incorporate the broken sauce into it to bring it back together.
How to fix lumps, splitting, and over‑seasoning
Quick fixes: strain lumpy sauces through a fine sieve or blend until smooth, then reheat gently while whisking. For splits, re‑emulsify with hot water or a fresh yolk, adding the separated sauce slowly. Over‑seasoned sauces can be brightened with acid, diluted with unsalted stock or dairy, or softened with a starch slurry. Prevent problems by tempering cold liquids into roux gradually, watching emulsion temperatures, and seasoning incrementally with a final adjustment at the end.
- Rescue tools every cook should have ready:
Fine mesh strainer for smoothing texture.
Small bowl with an extra egg yolk for re‑emulsification.
Neutral stock or unsalted dairy for dilution and balance.
With these tools and steps, you can recover sauces quickly and keep service running smoothly.
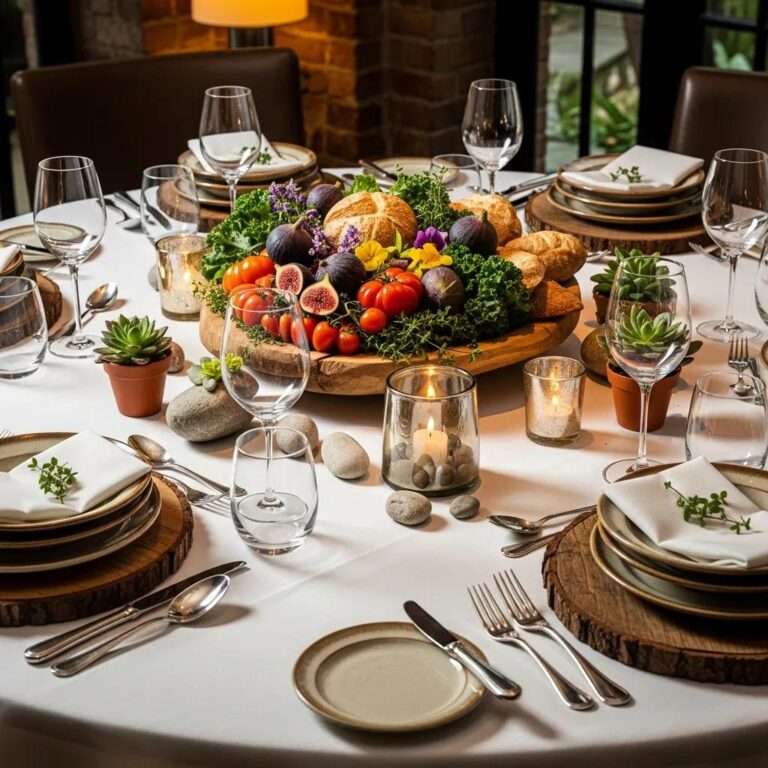
How do you pair and present sauces for a refined home dining experience?
Pairing and presentation turn technique into a memorable moment. Match sauce weight to the protein: light citrus‑based sauces like ponzu suit raw fish and delicate vegetables; rich demi‑glace and reductions complement roasted proteins and premium beef. Garnishes — microgreens, citrus zest, a small spoon of caviar — add color and texture contrast, while careful placement (dots, streaks, pools) gives intentionality to the plate. Use spoons for elegant streaks, squeeze bottles for dots, and small offset spatulas for smooth spreads to achieve a professional look at home. The examples below outline pairing choices and simple plating exercises to practice.
Remember: sauce temperature, viscosity, and placement change how a dish reads on the palate. The next section gives concrete pairing examples and plating tips you can try tonight.
Which sauces best complement Japanese fine dining dishes at home?
Respect delicacy in pairings: sashimi benefits from bright, low‑salt ponzu or a whisper of yuzu kosho; grilled fish takes a warm miso glaze or beurre monté with a light dashi reduction. A5 Wagyu responds best to restrained jus — a lightly reduced bone jus or soy‑based tare with controlled acidity so the beef’s fat and texture remain the focus. Vegetables and tofu welcome umami‑rich sauces like mushroom velouté or miso dressings that add savory depth without overpowering. These principles help sauces lift ingredients rather than compete with them.
How to garnish and present sauces for an elegant, professional look
Garnishes should echo a sauce’s components: citrus zest with ponzu, micro shiso or chives with a dashi dressing, and a modest spoon of caviar on butter‑poached scallops for briny contrast. Work with tools — squeeze bottles, spoons, and fine brushes — to place dots, streaks, and pools that guide the diner’s eye and palate. Aim for three visual elements per plate — protein, sauce, garnish — to keep the composition simple and focused. For photos or inspection, shoot plates at a 45° angle with soft side lighting to show gloss and texture; that view also helps you check finish before serving. These presentation choices complete the technical work and invite tasting in a dining setting.
This guide is structured to highlight Kaviar’s fine‑dining experience, signature dishes, premium ingredients, and to support reservation intent. It’s aimed at diners searching for Japanese fine dining, omakase, A5 Wagyu, caviar dishes, and luxury restaurant experiences in Pasadena.
Frequently Asked Questions
What are common mistakes to avoid when making sauces at home?
Common errors include overcooking roux, losing control of emulsion temperatures, and failing to taste and adjust seasoning as you go. Overcooked roux becomes bitter, and overheated emulsions will split. Avoid these by watching cook times, maintaining steady heat, and tasting at key stages so you can correct seasoning early.
How can I store homemade sauces for later use?
Cool sauces completely before transferring to airtight containers. Most sauces keep in the refrigerator up to a week; tomato sauce often lasts longer. For long‑term storage, freeze portioned sauces (ice cube trays work well). Reheat gently over low heat to preserve texture and flavor, and always taste before serving to adjust seasoning.
What tools are essential for mastering sauce making at home?
Key tools include a good whisk for emulsions, a fine mesh strainer for smoothness, and a sturdy saucepan. An immersion blender is invaluable for stable emulsions and purees. Measuring spoons and cups ensure accurate ratios, and a thermometer helps protect delicate sauces like hollandaise. Quality tools make technique more reliable.
Can I use alternative ingredients to thicken sauces?
Yes. Cornstarch, arrowroot, and pureed vegetables or legumes are common alternatives. Mix cornstarch or arrowroot with cold water into a slurry before adding to hot liquids. Pureed vegetables add body and flavor while keeping sauces wholesome. Choose the agent that best fits the sauce’s texture and reheating needs.
How do I know when my sauce is properly thickened?
Look for the sauce to coat the back of a spoon and leave a clear line when you run your finger through it. For nappe‑style sauces (béchamel), expect a smooth, velvety texture that clings without being overly viscous. Visual cues like color and sheen help, but always taste to confirm flavor and mouthfeel.
What tips will enhance the flavor of my sauces?
Layer ingredients and use quality components. Start with a flavorful base (homemade stock or fond), deglaze to lift fond, and add umami elements like miso or reduced stock for depth. Finish with a touch of acid to brighten, and use fresh herbs or spices sparingly to elevate without crowding the core flavors.
Conclusion
Mastering sauce making at home gives you the tools to turn ordinary meals into elevated, restaurant‑quality dishes. With a firm grasp of technique and thoughtful use of ingredients, you can create sauces that highlight and elevate what’s on your plate. Practice these methods, taste as you go, and don’t be afraid to experiment — then, when you want to experience these flavors at their finest, join us at Kaviar to taste how these principles translate in our dining room. Begin your sauce‑making journey tonight with the recipes and tips above — and consider a reservation to taste the results in Pasadena.